


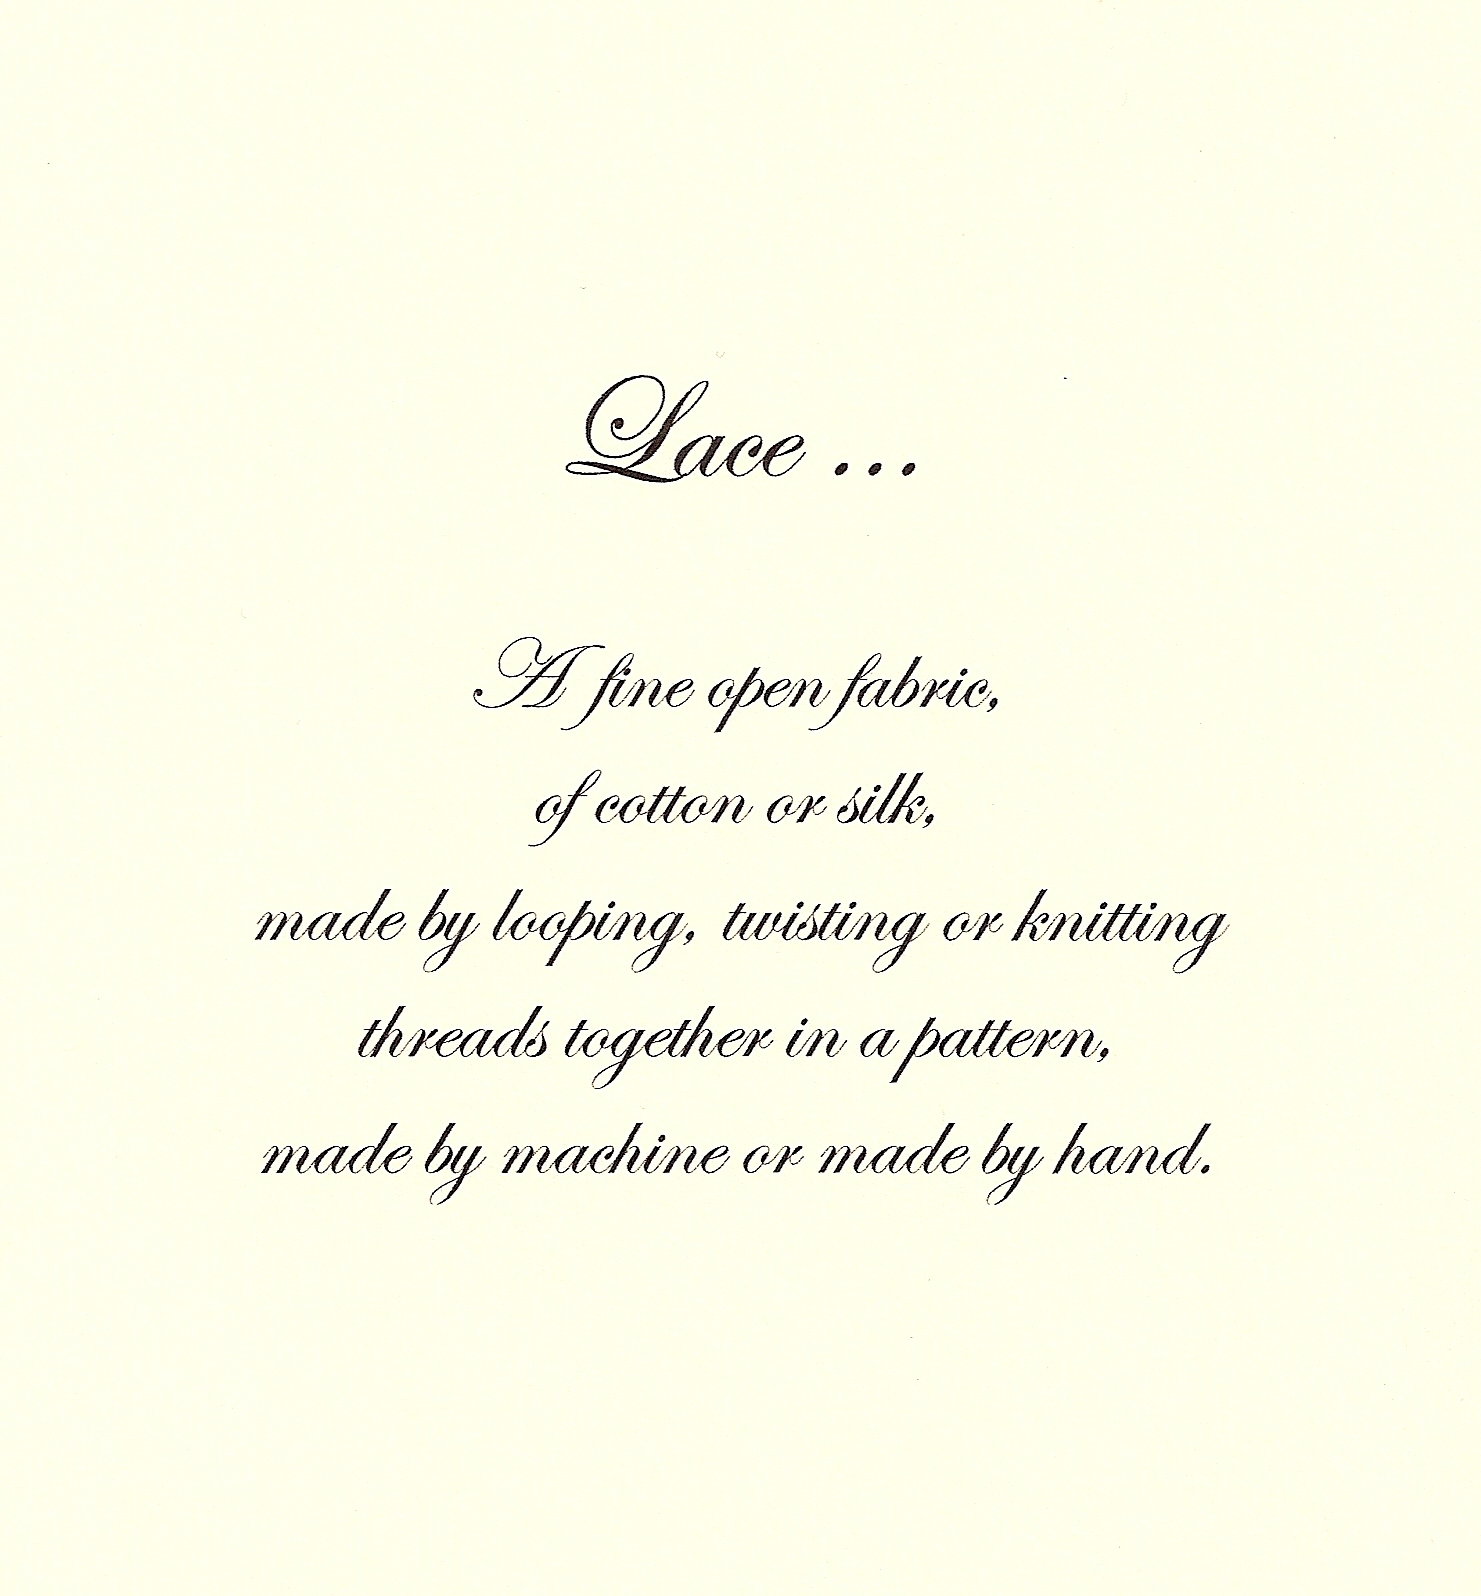
I have been so very busy this past weekend working on several projects. After finishing one of them that is when I thought this might be something good to share in the form of a short tutorial because I think that this quick and easy project might be of help to some of you to organize your laces and ribbons and ... it looks nice too!
I am sure you all agree that storing lace in different objects like old tins or jars looks amazing but ... when it comes to finding the right lace or ribbon to work with ... how many of you ~ just as I have been ~ were confronted with this hug ball of tangled lace? And this is what had happened to me over the weekend. I was working on my ballet slippers and I needed some lace which is stored in an old box and I ended up with almost all of it as one big ball in my hand and that is why I made this little tutorial. I didn't have to go out especially to buy anythingfor this project and I am sure many of you have everything you need right there at home already. It's a really good way to recycle as well because you can use almost any cardboard and container. I have also made two sizes of the lace cards so if you have less or more of a lace/ribbon you will have the right size card.
My lace before ...

... all tangled up in a box!
This is how I solved my problem ...


These are the pattern sheets ~ please print (template sheet onto paper, label sheet onto stock card)

Here is the new lable sheet for your ribbon!!
NOTE:
To all you lovely bloggers that have printed this off before 11am eastern time on Feb.9th.
Unfortunatly I made a mistake when I looked up the French word for 'lace', because there is more than one of them (which I didn't know). I have corrected the label sheet now with the right wording. Lacet means lace when you are talking about shoe laces which I was told by a sweet blogger named Christa. So, it is up to you now, you can either replace the word 'lacet' with the word 'dentelle' or you can leave it if you like. If any of you have already started with the 'wrong' word ~ I am so sorry!! I always check my work over and over but I think I was just so excited to share my new tutorial on my blog and I didn't check it good enough. I will try to make sure that this will not happen again in the future.
You will need the following:

~ A box to store your lace cards in
(if you would like to do so ~ mine is a photo box from Michaels,
you could use an old tin or anything you like)
~ Cardboard (I used all sorts, from frozen pizza boxes to cereal boxes)
~ Printed out patterns (provided above)
~ Scissors
~ Scalpel or paper knife
~ Pencil/pen
~ Ruler
~ Glue (I used Liquitex but you can also use Modge Podge if you prefer)
~ Paper to cover your lace cards with (music sheets, scrap booking paper, old book pages etc.)
~ Distress Ink/small cloth (if you wish to ink your edges for an aged look)
And this is how it's done ...

1. Print out the pattern and make a template by gluing the pattern onto a piece of card and cutting it out.

2. Place your template onto your cardboard and draw around it (a pizza box will give you two large, and two small cards)

3. Cut your cards out now ~ a scalpel and ruler will come in useful when cutting the card on the inside of the pattern.

4. Now glue your card to a decorative piece of paper of your choice and then place it on the side to dry for a little while. If you lay a heavy book on top of it, the card won't bend too much whilst drying. I used double sided scrap booking paper that I got on sale at Michaels. Until now I didn't have much use for it so it was perfect (and pretty!!!) for me to use on this project. You could use book pages or old music sheets too. Once dry, cut off the excess paper.

5. ~ Turn you card over and repeat step 4 again.

6. The next step was using my Distress Ink pad and I inked the edges of the lace card. If you wish to do so make sure your ink is dry before winding your lace onto it!


7. The last thing I did was to make small labels with the word 'lace' printed on it in. Cut the label out, age the edges with your ink pad and glue it to the top of your card. I thought it would be nice to use different languages for the word 'lace' ~ I chose English, French and German ~ you could always find more or you could skip this step altogether. And that's how it's done!
And this is my lace now ...

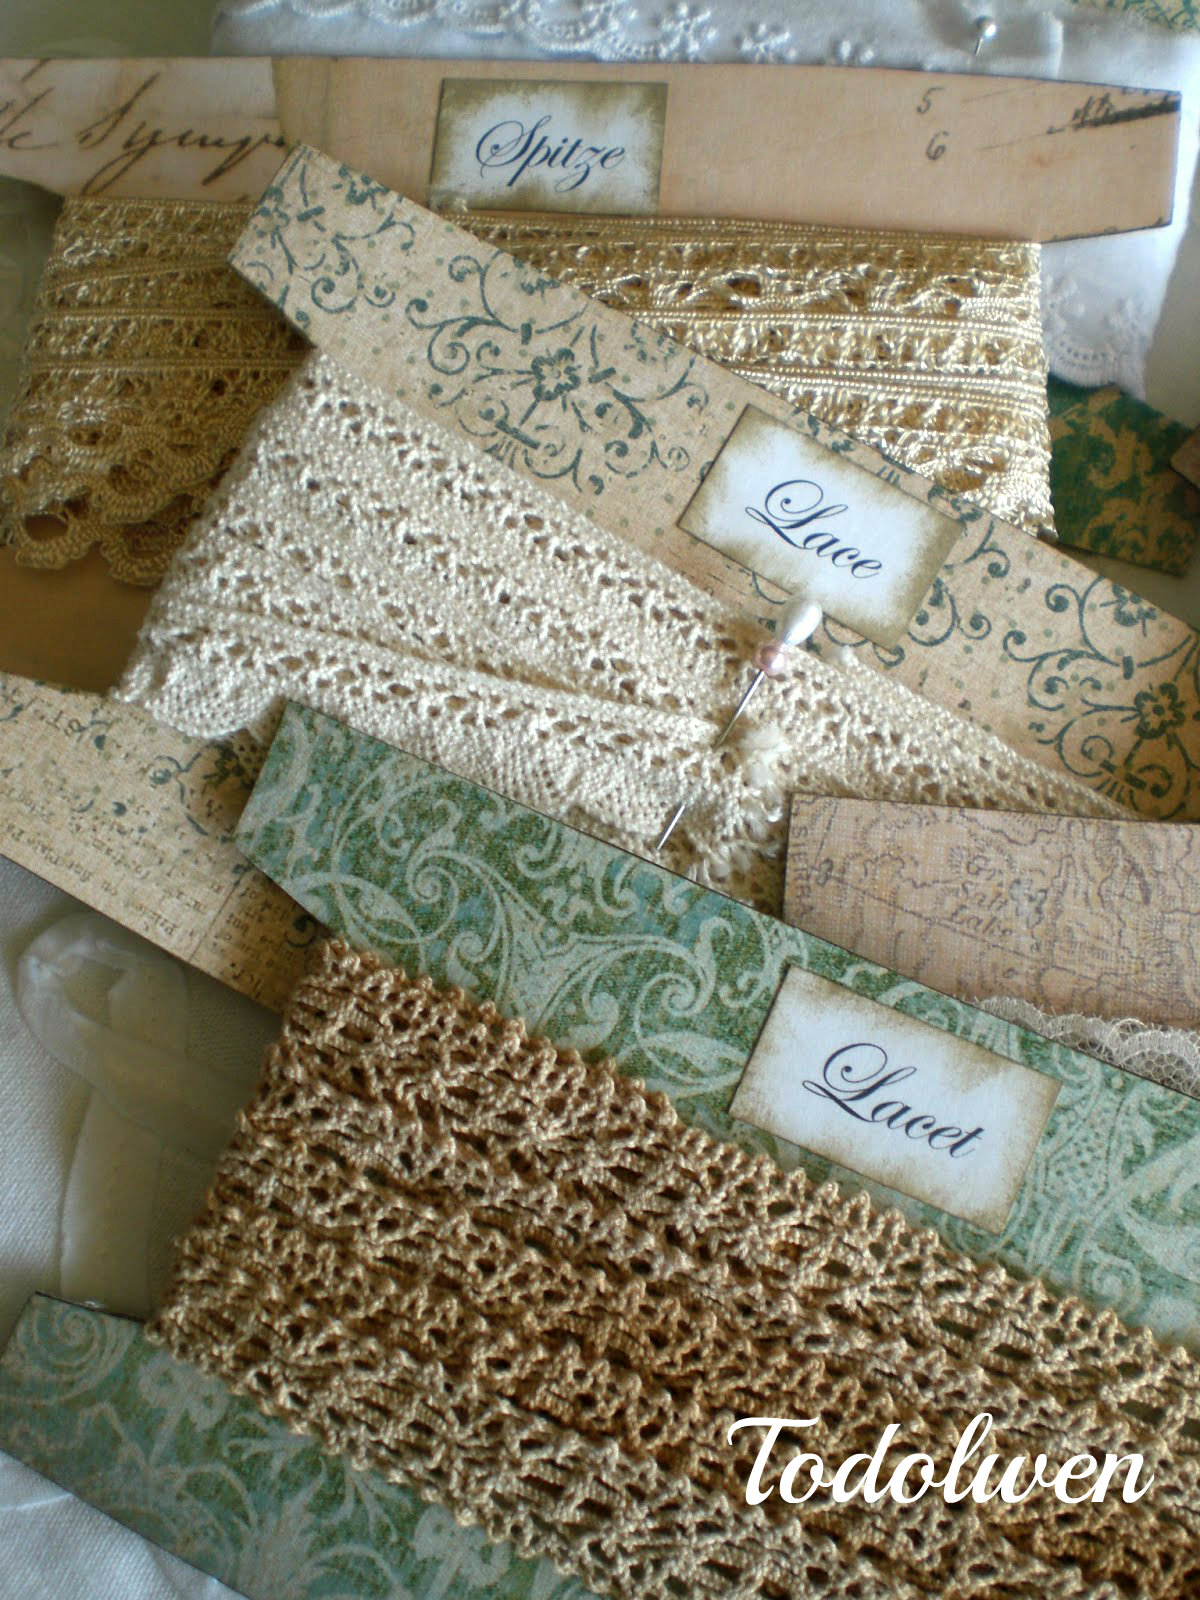


All you have to do now is to wind all your lovely lace or ribbon onto your cards and to hold it in place you could make a few of my 'neat pins' and use them! Now just place your cards into your box (or other storage container) and there, you have a useful and pretty addition to your studio/craft room!!!


If you like you could even make them as a gift for someone and personalize them with their name ~ that would be rather nice!
I know this was a very easy tutorial and a simple idea but I do hope you have enjoyed it and that it will prove to be useful for you one day.
I hope you are all well and life is treating you kind.
Have a peaceful and creative day,
Karen B.
Goodmorning Karen, oooooh, this looks amazing.I also keep my lace on templates in a box, just looking at them makes my happy :))
ReplyDeleteThanks for your comment on my give-away, to join it, may i ask to but a button on your beautifull blog.
Have a nice Thursday,
love from Belgium,
Sonja
O. MY. GOODNESS.....Karen!!!! This is SO what I need girl!!!! My lace is SUCH a hot mess and I'm so sick of it.....and this would be the PERFECT SOLUTION! I just need to take the time to organize it :) Beautiful tutorial sweet friend!! hugs and love to you, Dawn
ReplyDeleteFantastic idea - thanks for tutorial.
ReplyDeleteLiz @ Shortbread & Ginger
I love this tutorial, I've just started a complete overhaul in my studio, it could take several weeks but you've inspired me to start with lace.
ReplyDeleteGreat idea Karen and beautiful to boot!
ReplyDeleteTina xo
So very beautiful Karen,
ReplyDeletethankyou for the tutorial-your photoes are wonderful.
your tutorial is wonderful!
ReplyDeleteawesome, thank you much for sharing! :)
ReplyDeleteYou have given me the inspiration for the day. I love your blog. Thank you. I will again reference you when I post about my new found organization.
ReplyDeleteVery pretty!!! I already have my laces and trims on cardboard and lined up in a drawer, actually 3 drawers....not as fancy as yours!!! Nice job!!!
ReplyDeleteThey are beautiful Karen - such a great idea.
ReplyDeleteAwesome tutorial! I'm so excited to give this a try. Thank you so much for the time and effort to share this with us. Beautiful job!
ReplyDeleteDoni
LOVE!
ReplyDeleteThis is fabulous! I have to do this to my lace mess! Thank you so much!...Nancy :o)
ReplyDeleteVery beautifully made, thanks for the tutorial.
ReplyDeleteAnni
I love your tutorial.
ReplyDeleteI have made a couple of cards and they turned out very nice, I think.
They are on my blog spot.
X,
Sarina
Karen,
ReplyDeleteOh girl, you are just too good! I love this idea. I have done something similar before, using the cardboard from discarded seam binding & covering in sheet music but this is totally cool! A bunch of us are having craft night tonight & guess what I'll be doing????
Lisa
Vraiment un très beau résultat !
ReplyDeleteKaren - from one Karen to another - you must've been reading my mind! I've had doing this on my mind for several weeks now, it is so pretty. I was hoping to find "precut" cards and then cover them, but I think I will really enjoy just making my own by following your lead.
ReplyDeletePERFECT!
Today YOU are my inspiration!
I found you through Pinterest.
Thank you so much for sharing.
Have a great weekend.
Karen ~ Some Days Are Diamonds
I am SO doing this, what a fabulous idea!!!! Thank you so much.
ReplyDeleteYour lace is now displayed so beautifully.
I am currently working on my tiniest of craft spaces and love this idea for storing my laces and trims in a pretty way! THank you so much!
ReplyDeleteDear Karen,
ReplyDeleteI just found you through Pinterest and am so inspired right now that I want to run upstairs and sort all my lace and ribbons, but its 4am!! I handmake alot of my fine crochet lace and so having these wonderful lace spools would be perfect. Everything handmade and totally by me. Thank you so much for the inspiration. I will pin these on my boards for others to see.
All the best Linda
Wow, great minds think alike! I just posted on Tuesday about my lace organizing project and looks like you too had been inspired to do that. Must be the season for organizing our treasures. :-)
ReplyDeleteSo nice to have discovered your blog! Enjoy your weekend.
Hugs,
Judy
not only is this a practical idea, but beautiful as well. thanks for posting.
ReplyDeleteBarb
Oh my gosh! this is an absolutely gorgeous idea! thanks for sharing, lovely to have come by your blog just now =)
ReplyDeleteRachael xx
Love this idea. Thanks
ReplyDeleteRebecca
Thanks for sharing your wonderful ideas!
ReplyDeleteWill be great to use to sort my lace and ribbons! :)
Karen,
ReplyDeletesuch a lovely way to organize your lace! I have some laces from different places and I'd love to be able to remember, and my daughters to know, which laces came from where, so I am going to label them with names and places and dates as well! I am so excited! I love lace....*big sigh*....I will show you when I get to it!
Betsy
A Fantastic Idea and Shared Tutorial! Thank You!
ReplyDeleteDawn... The Bohemian
Gracias por el tutorial , una idea estupenda:)
ReplyDeleteWhat a lovely idea, I found this via Pinterest. Thank you for sharing this idea, I keep my ribbons in jars, but it has never fet quite right for my lace. I will definitely make some of your "bobbins". Elaine
ReplyDeleteHallo!
ReplyDeleteDeine Idee ist so zauberhaft!!! Ich habe das selbe Problem mit meinen Spitzen, und deshalb habe ich deine Idee umgesetzt....
Herzlichen Danke für deine schöne Anleitung!!
Herzlichst
yase
Thank you for this beautiful idea !
ReplyDeleteThis is lovely. I have so many laces I would love to organize. I cannot see from this how to print out the forms though. Am I missing something?
ReplyDeleteThank you so much for sharing. I have a huge task in front of me, organizing and down sizing, you have given me a place to start. I hope you are having a wonderful day‼️
ReplyDeleteWhat are the dimensions of the templates? I printed out the pages, but they look small to me. Your help would be appreciated. I love how they look. Thanks for sharing!
ReplyDeleteSomeone just posted this on a Facebook group I'm in and it's so what I've been looking for. I'm going to start on it tomorrow and get my hoards (yes I'm hanging my head, I have hoards) of lace. Mine's in baskets and totes and is so hard to find what I want when I want it! Thanks for the step by step walk through. Sometimes the simplest things are the absolute best! Patti
ReplyDeleteI, too, am wondering about the dimensions of the templates. What a beautiful idea.
ReplyDeleteHi there,
ReplyDeleteyou have to enlarge the pattern page to the size of a piece of paper when you print it out and then the templates will be right size.
Hope this helps.
Karen B.
Me encanta tener todo organizado, saber lo que tengo y donde lo tengo es mi lema.
ReplyDeletePara cintas delgadas o de bordar, yo también utilizo envases plásticos de shampoo o detergentes, es un plástico duro y evitas tener que forrar.
Saludos a todas.