


I am sure there are many tutorials out there on how to make an origami butterfly but I thought I would put a short tutorial together to share with you on how I made mine. The nice thing about this butterfly is that you should have everything right there with you that you will need to make these lovely fluttering creatures.
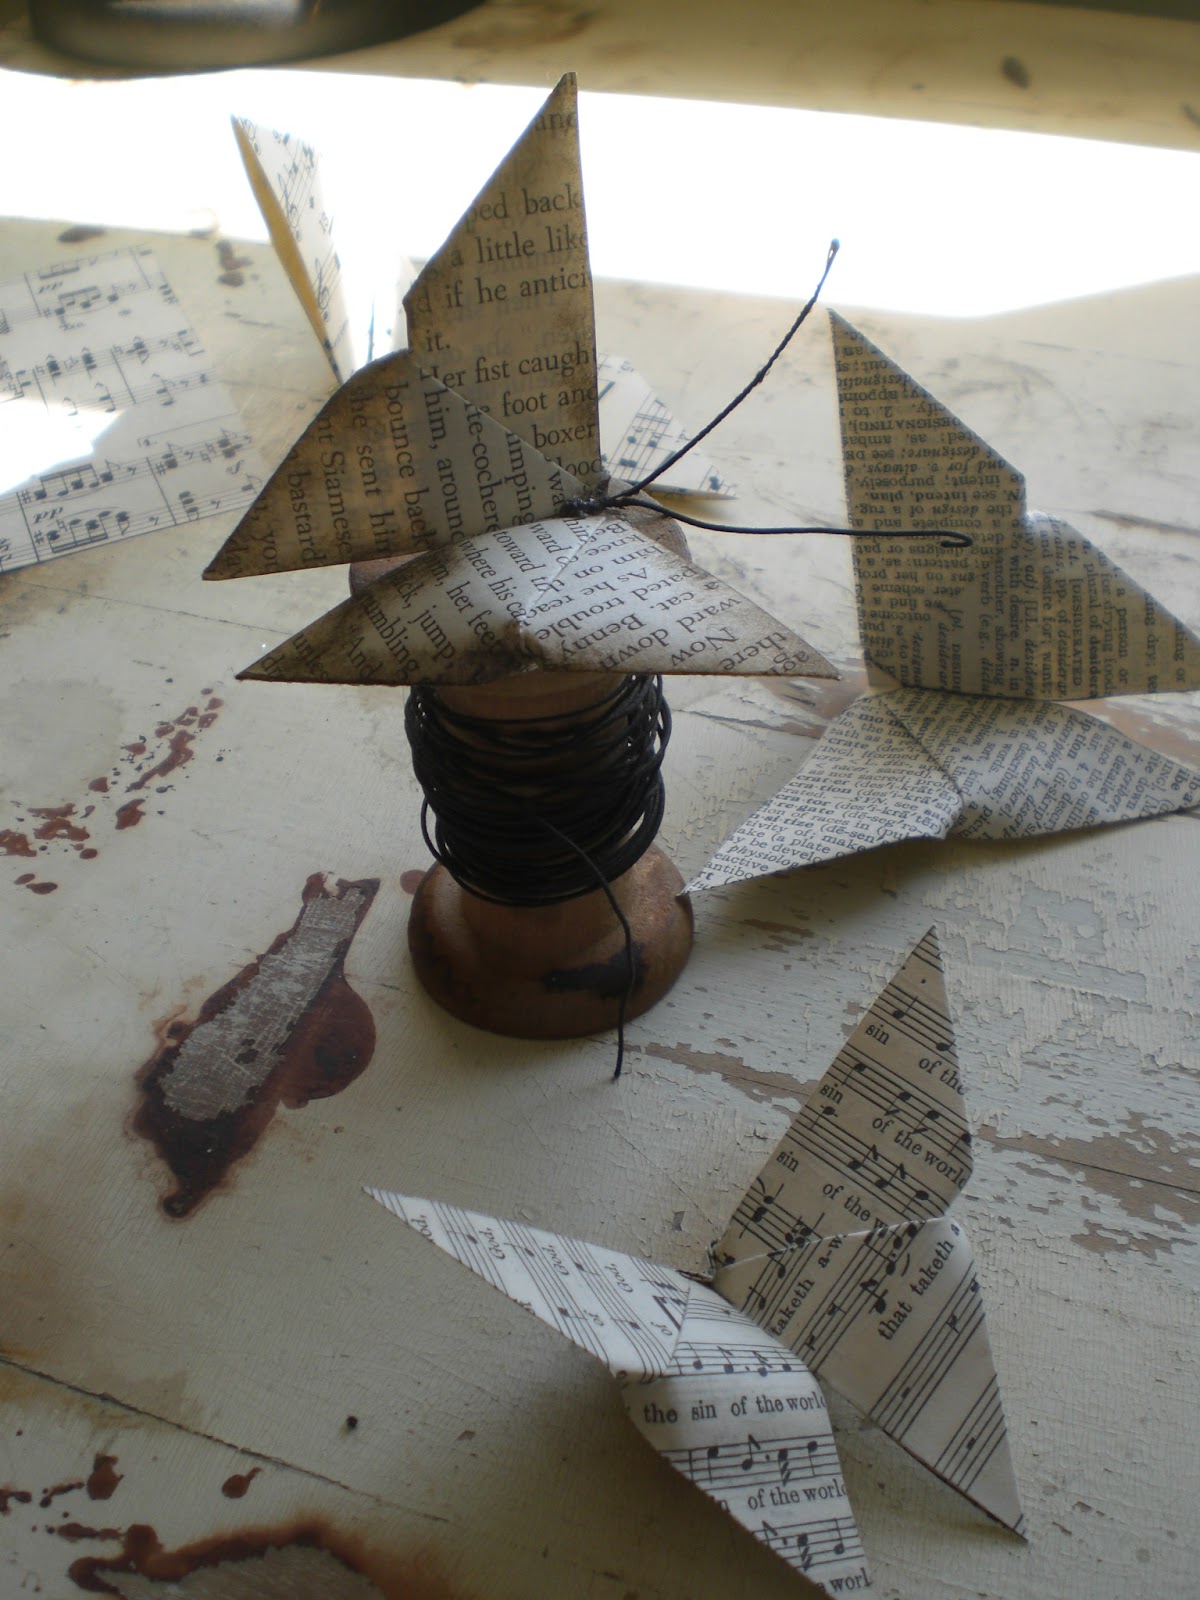
Beautiful paper butterflies!
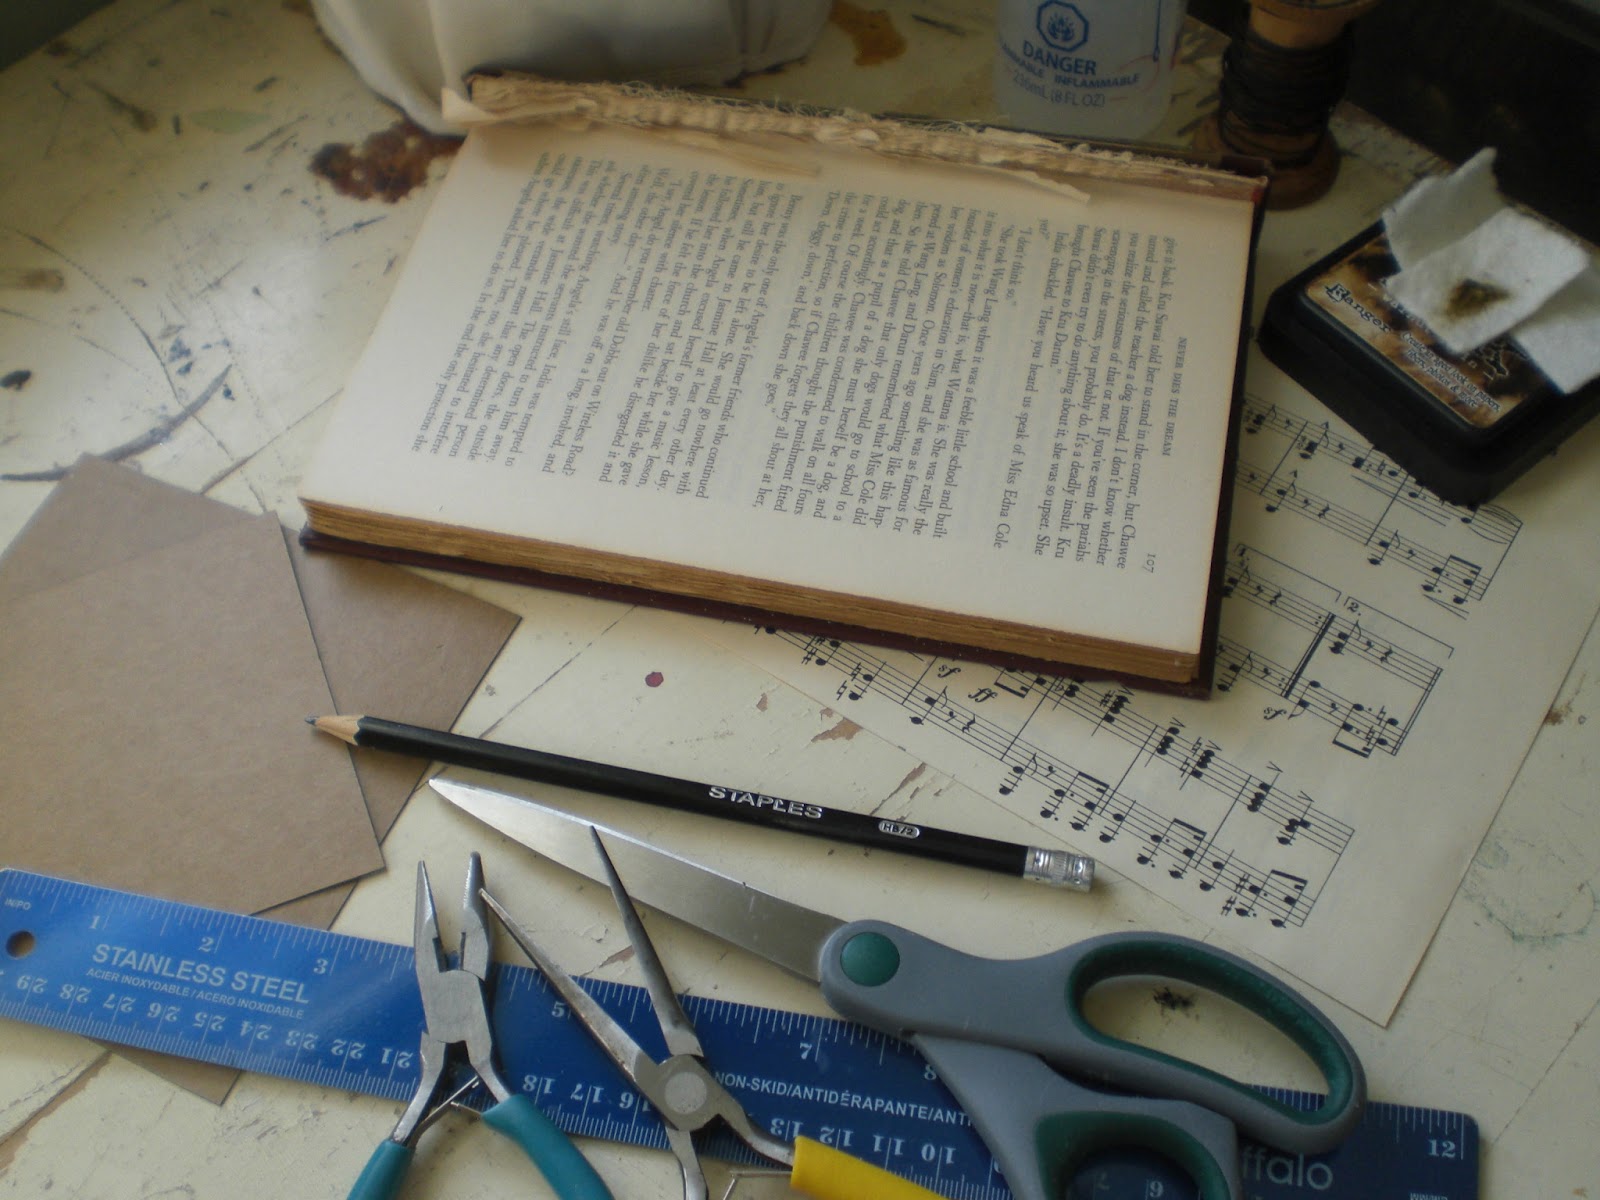
You will need the following:
~ Paper of your choice (nothing too thin or brittle)
~ Scissors
~ Ruler
~ Pencil
~ Ink pad (color of you choice)
~ Glue
~ Thin wire
~ Wire nose pliers
So, let's start ...
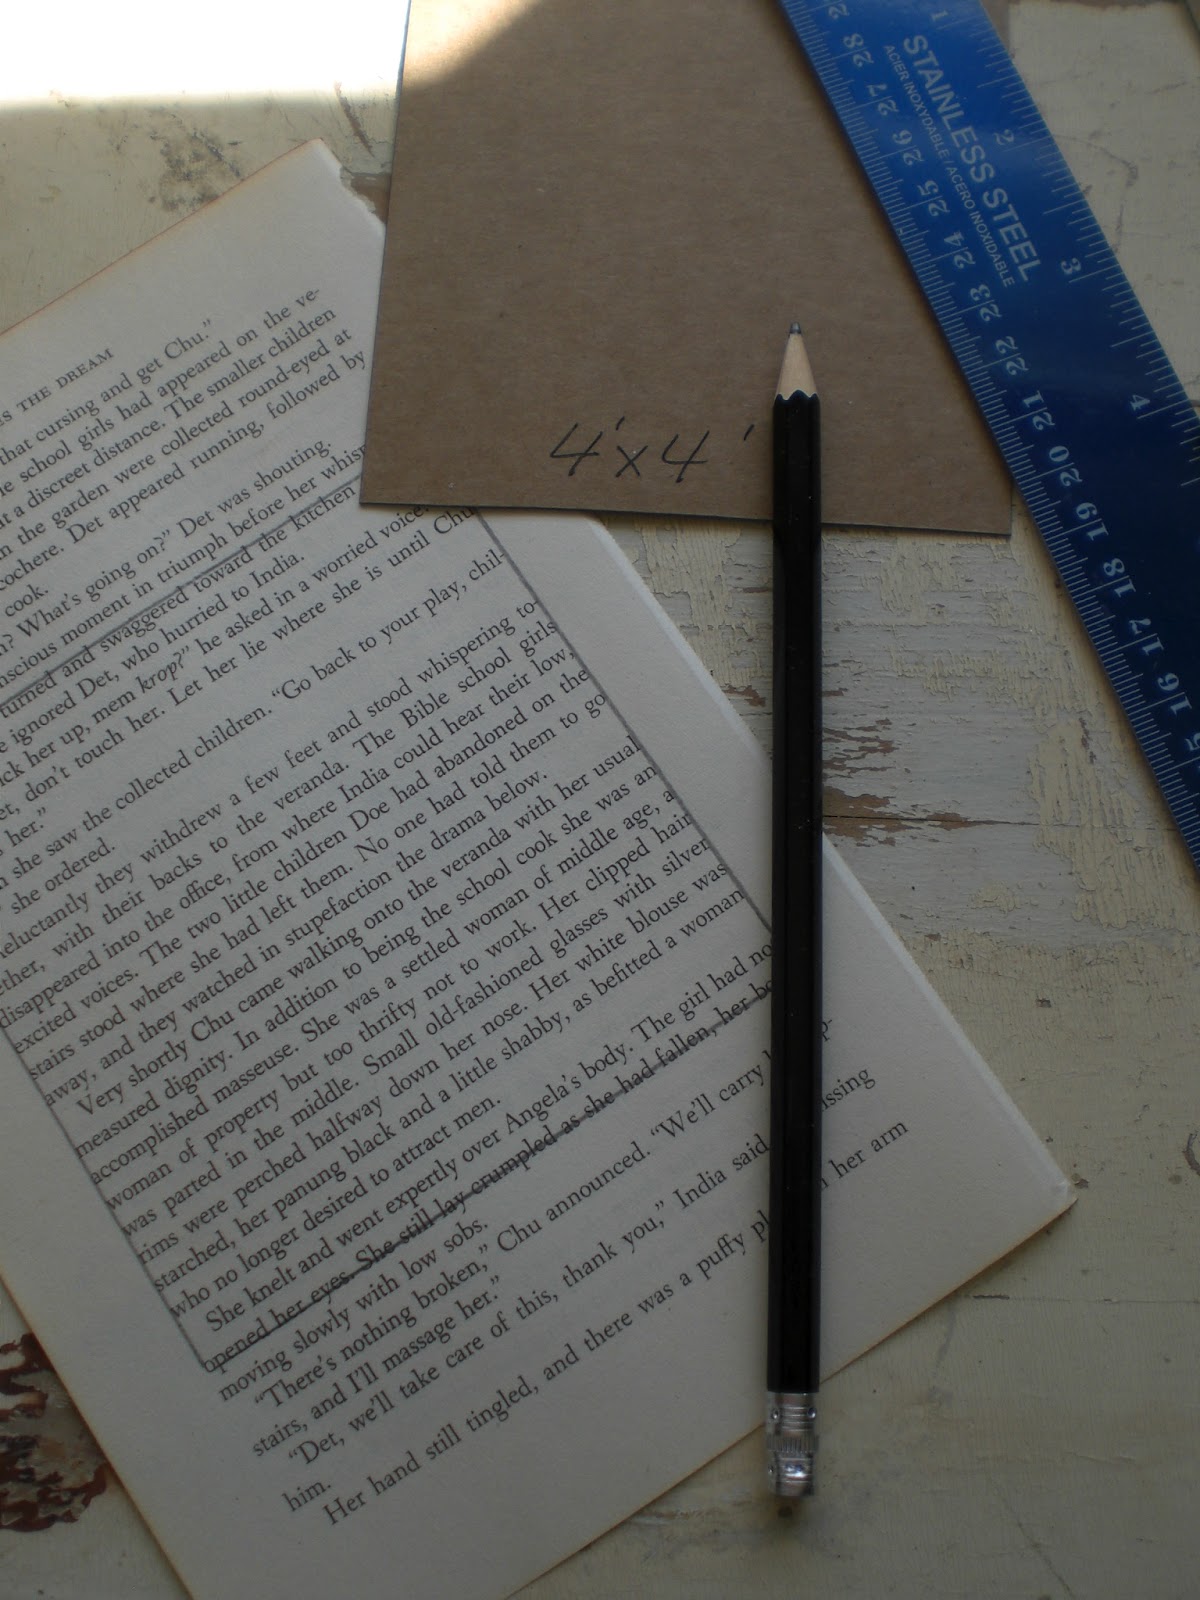

Choose the size you would like your square to be, mark it out on your paper and cut it out. I like to make cardboard templates when I am wanting to make more than one of something. I used 3,4 and 5 inch squars for my butterflies.
Now start folding your paper as follows ...
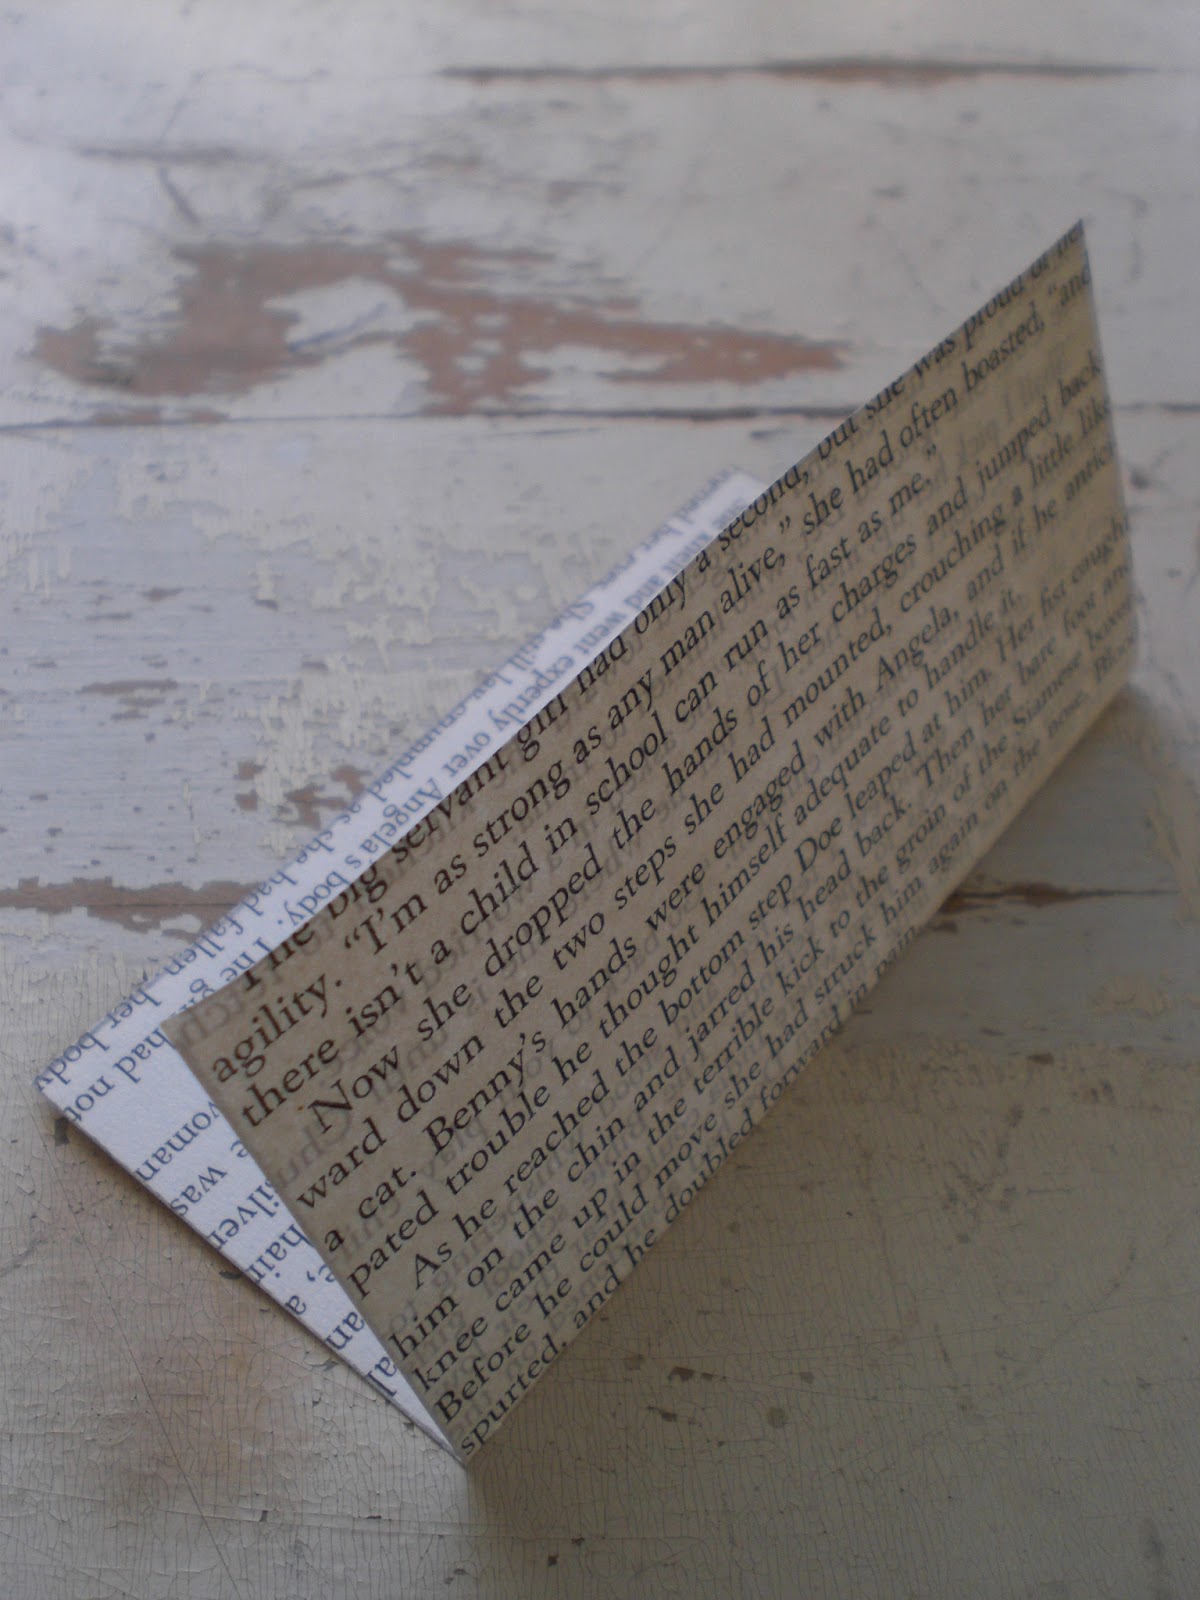
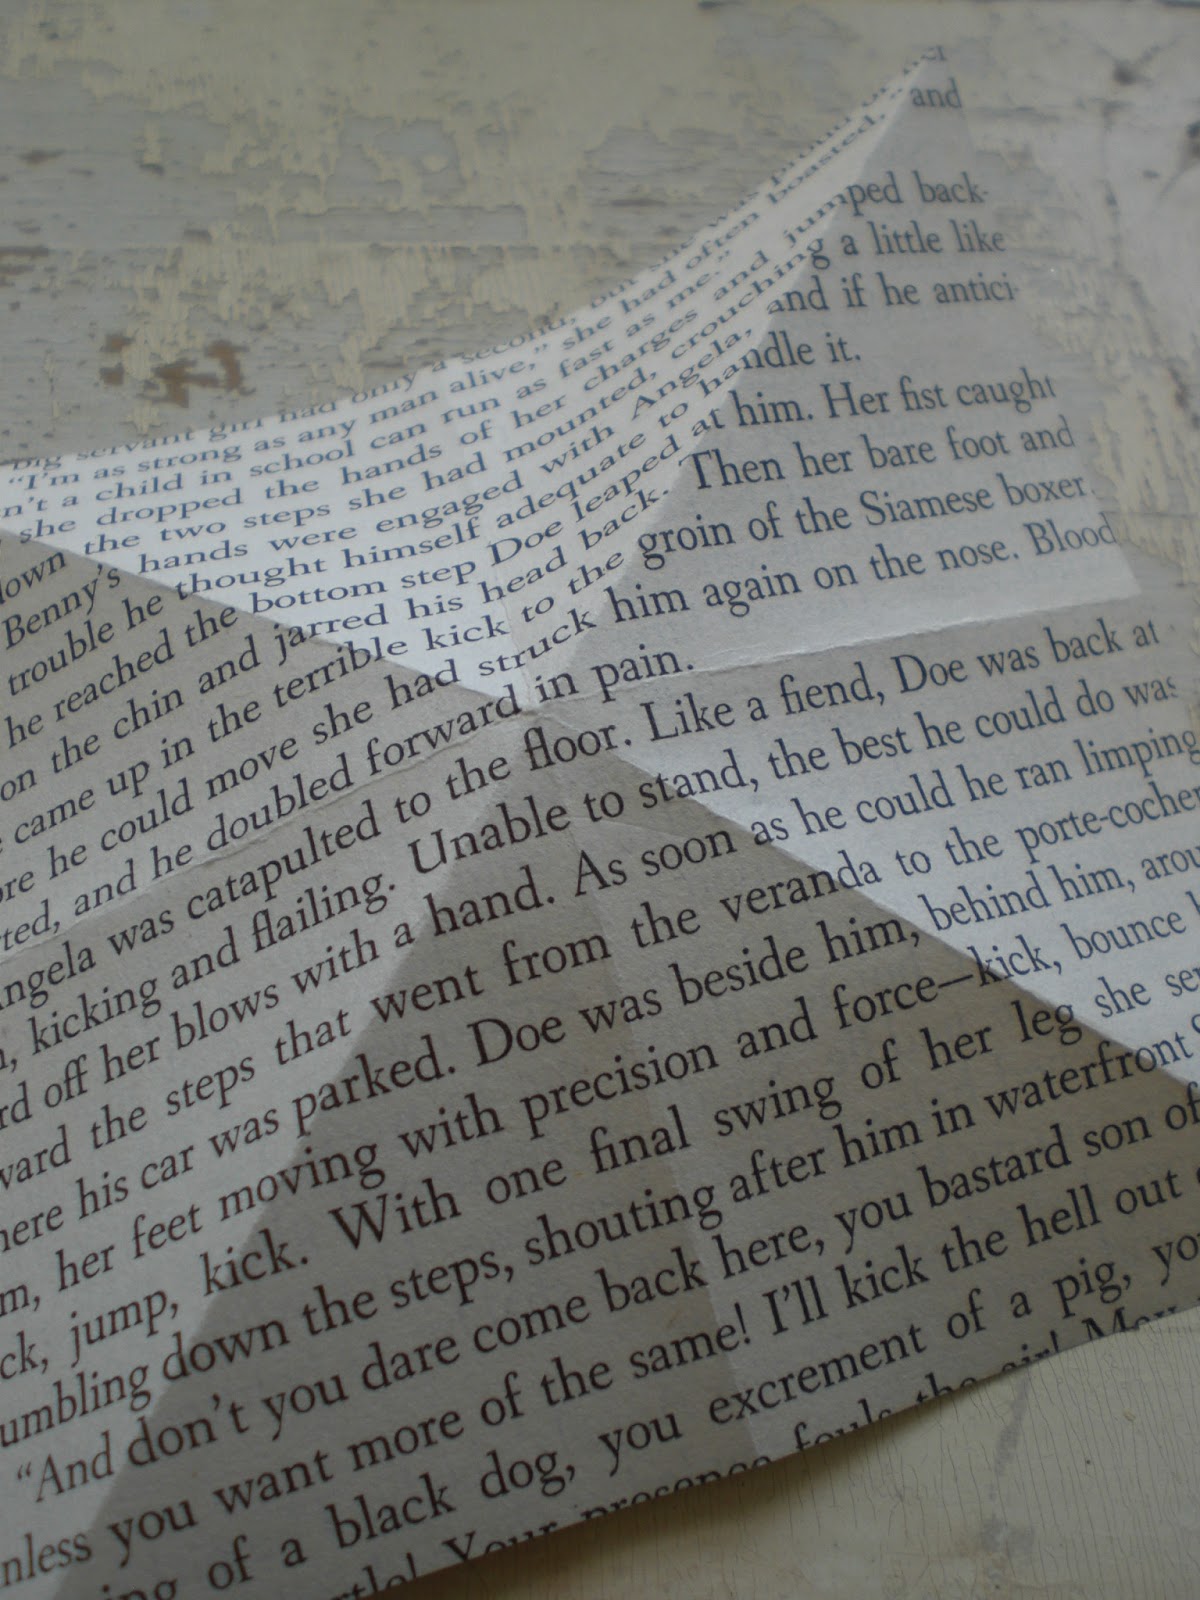
Fold your paper in half both ways.

Then fold your paper diagonally both ways.
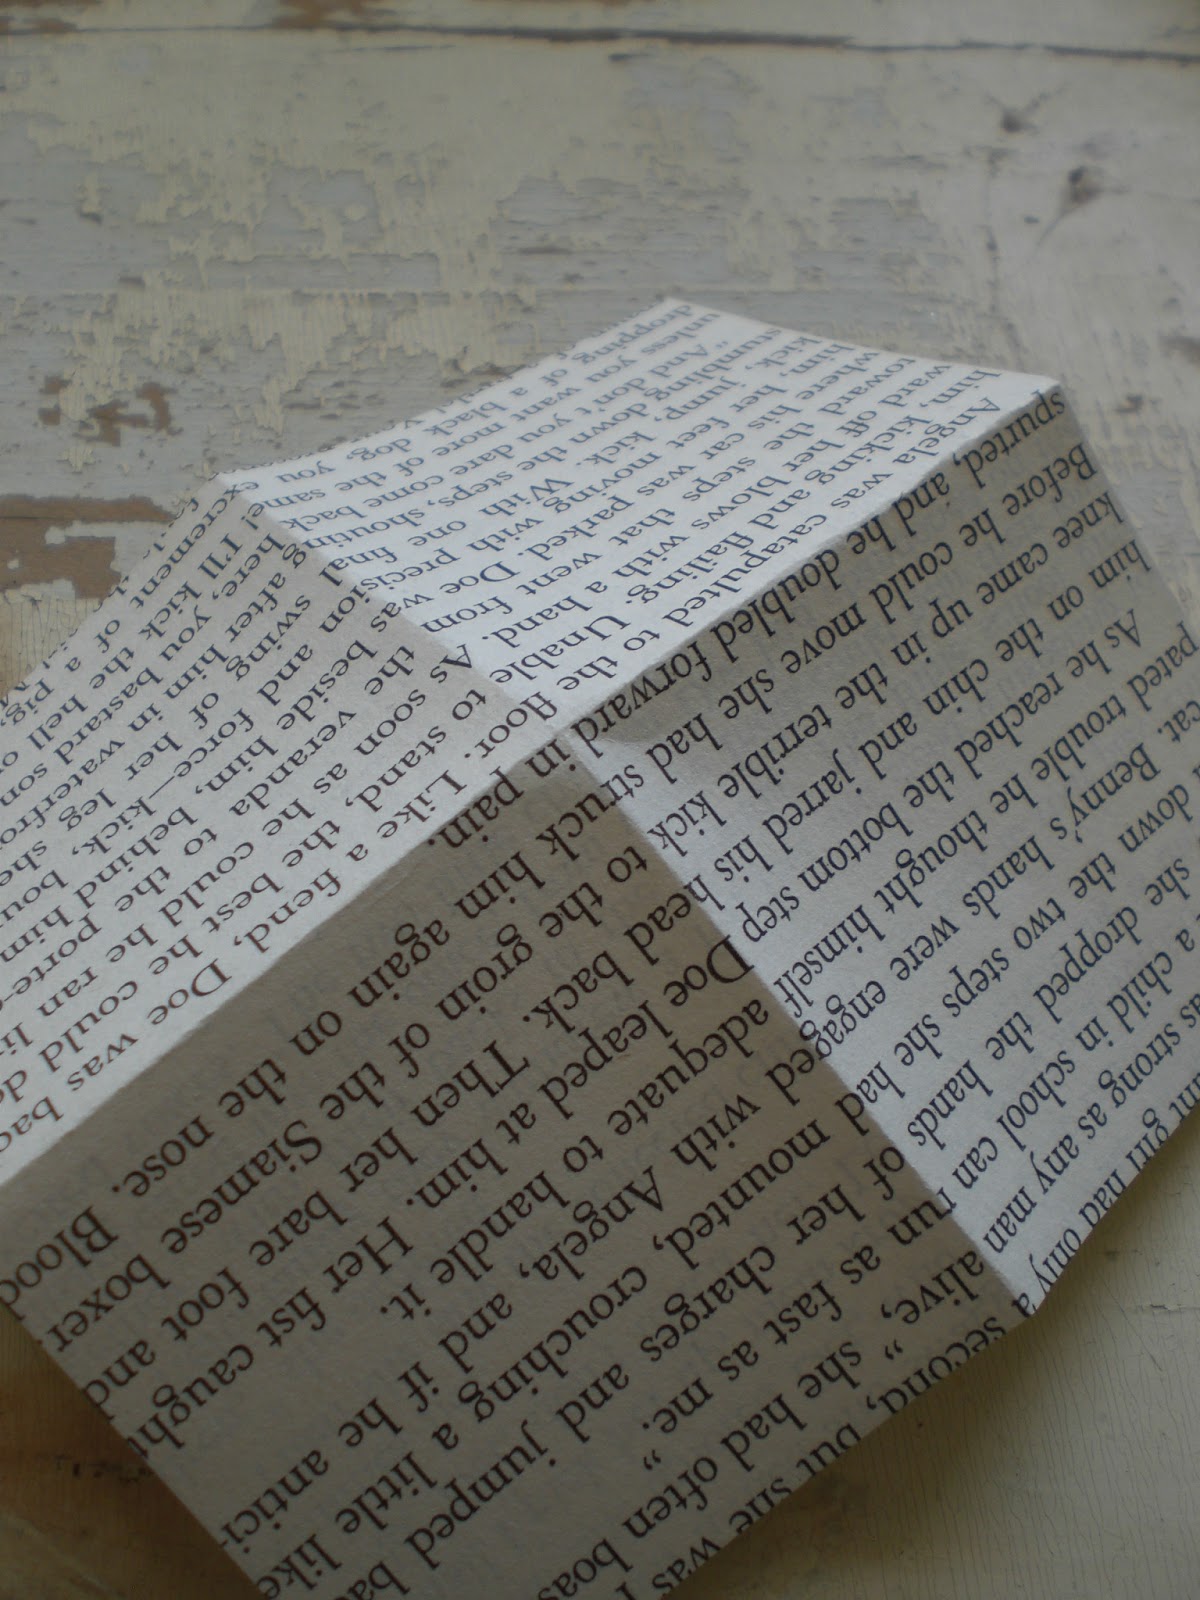
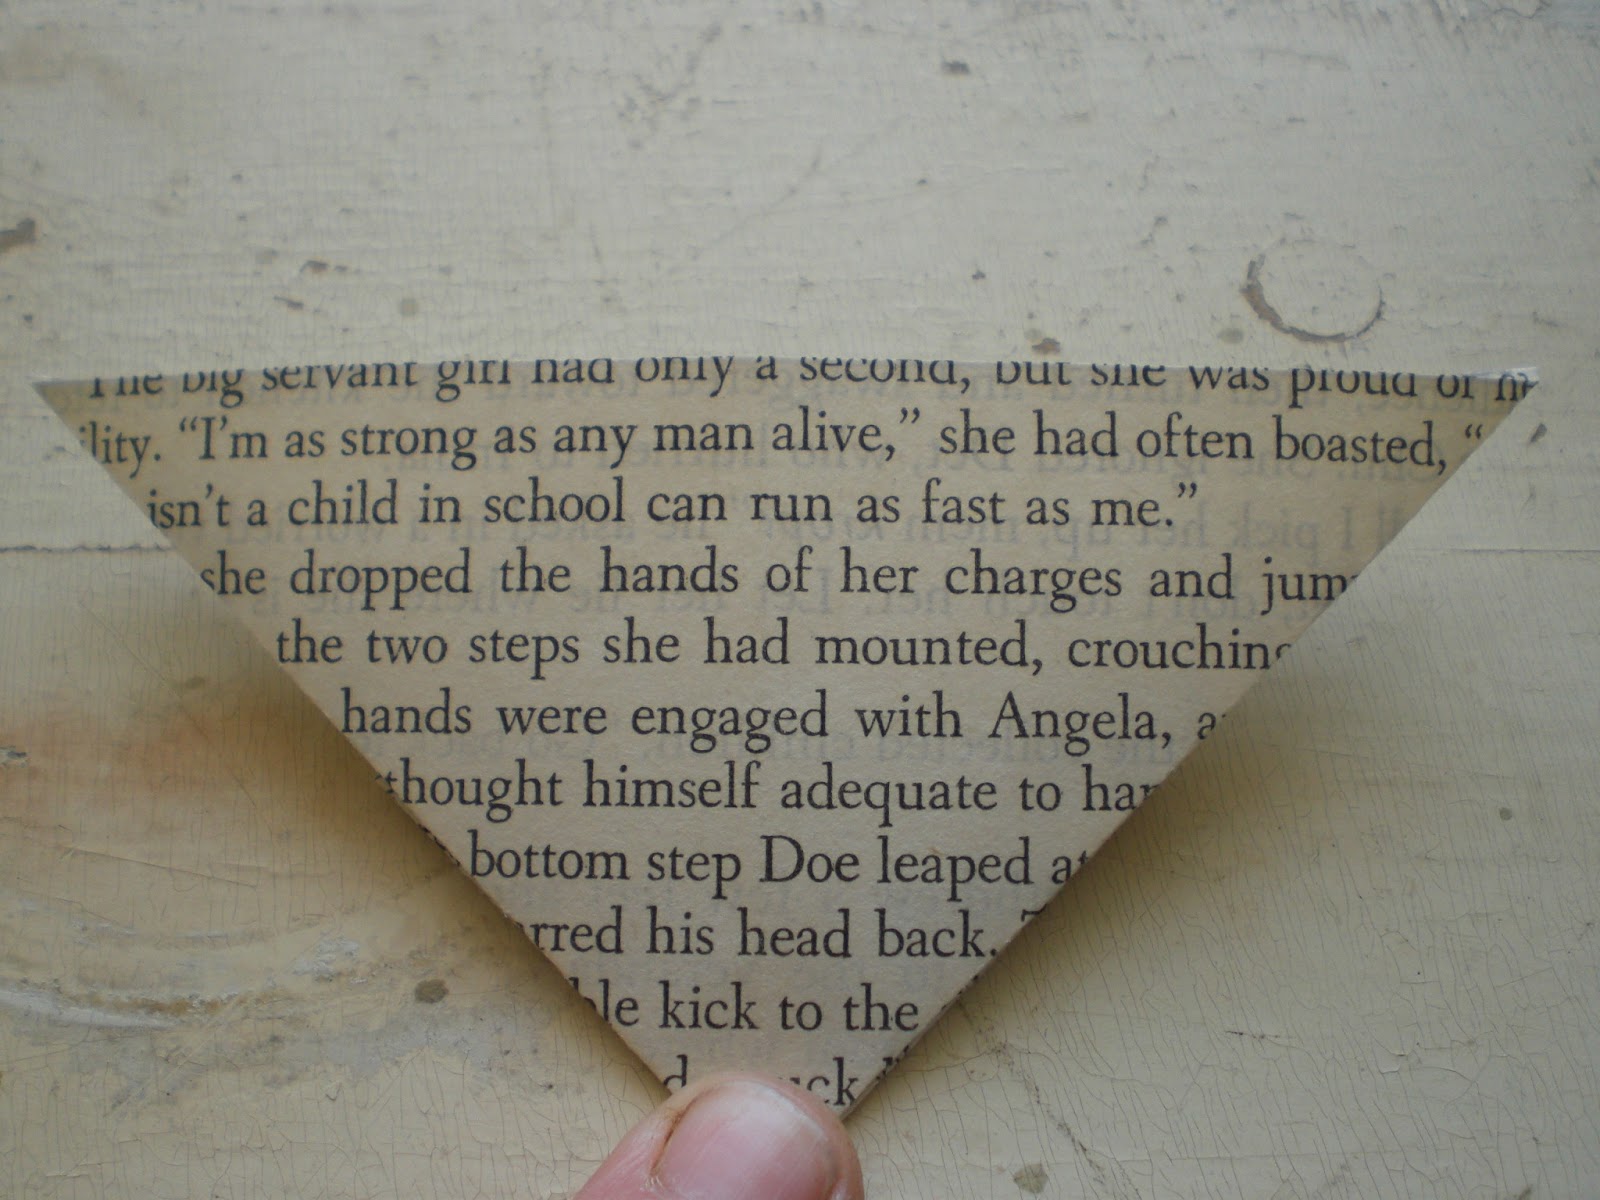
Now fold the center folds inwards to make a big triangle that is open at the bottom ...
... like this.

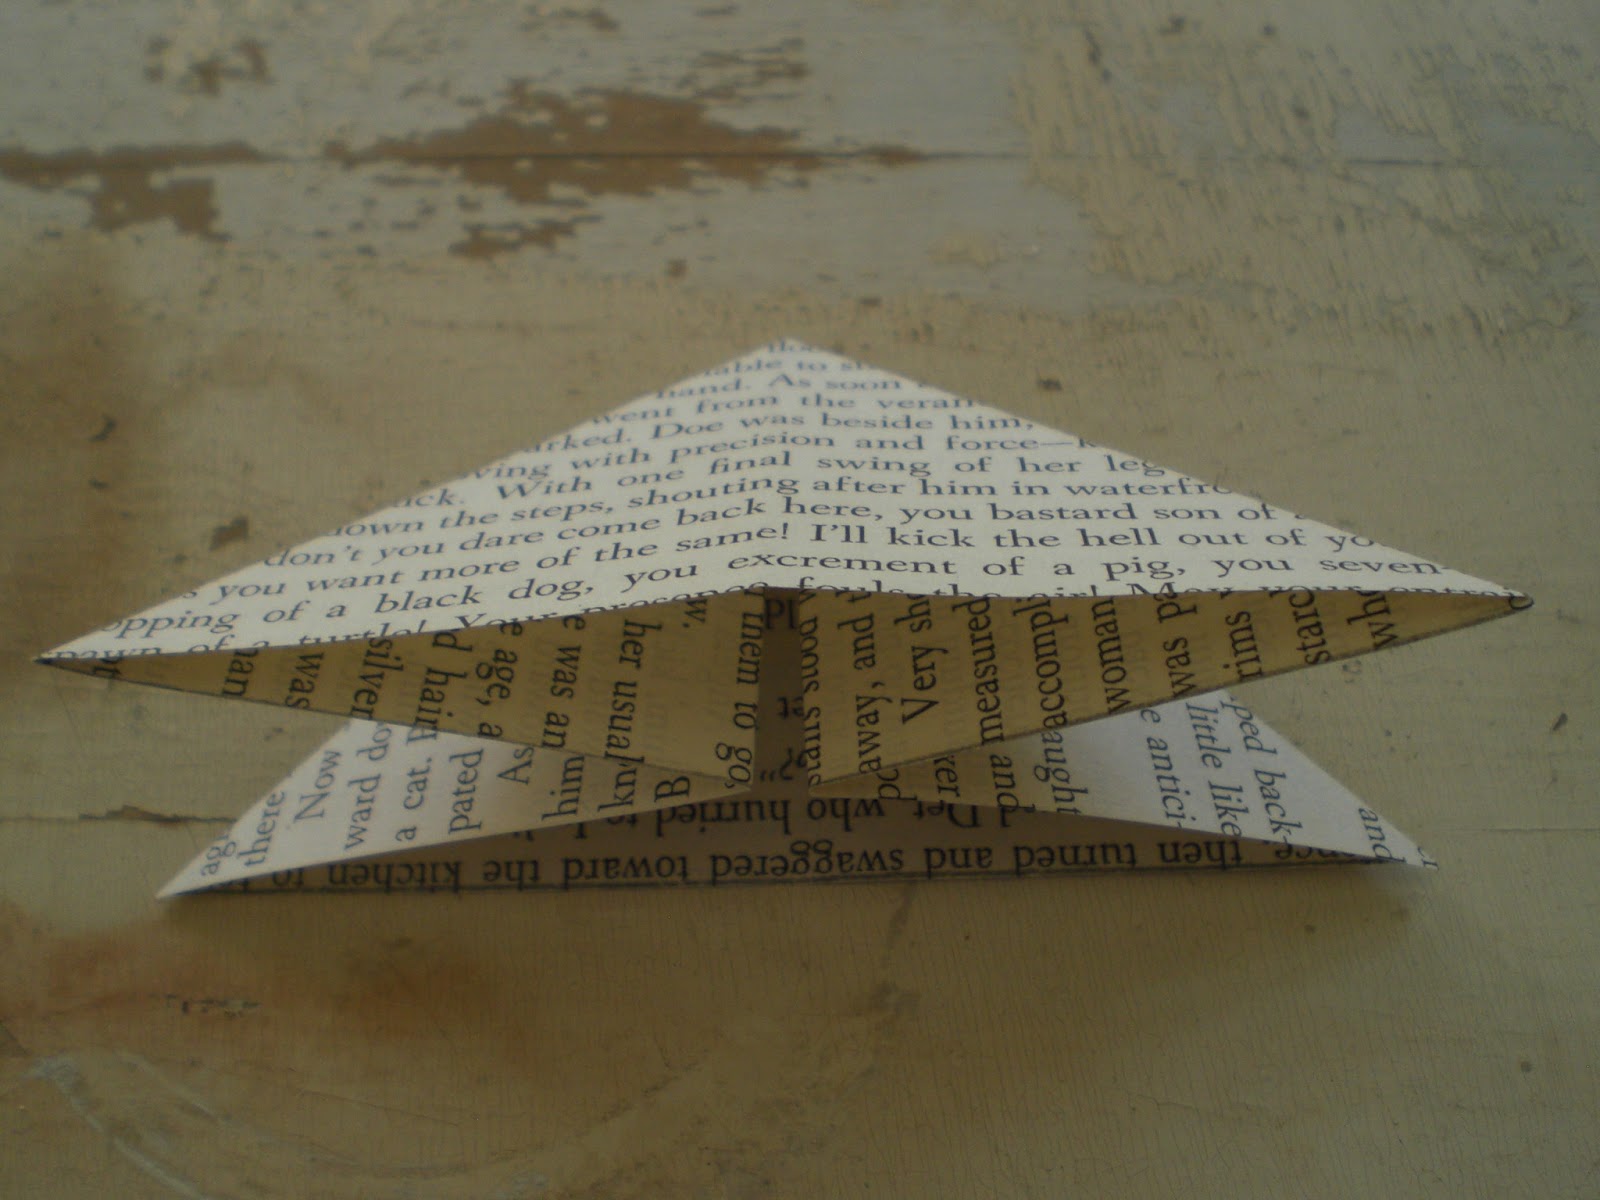
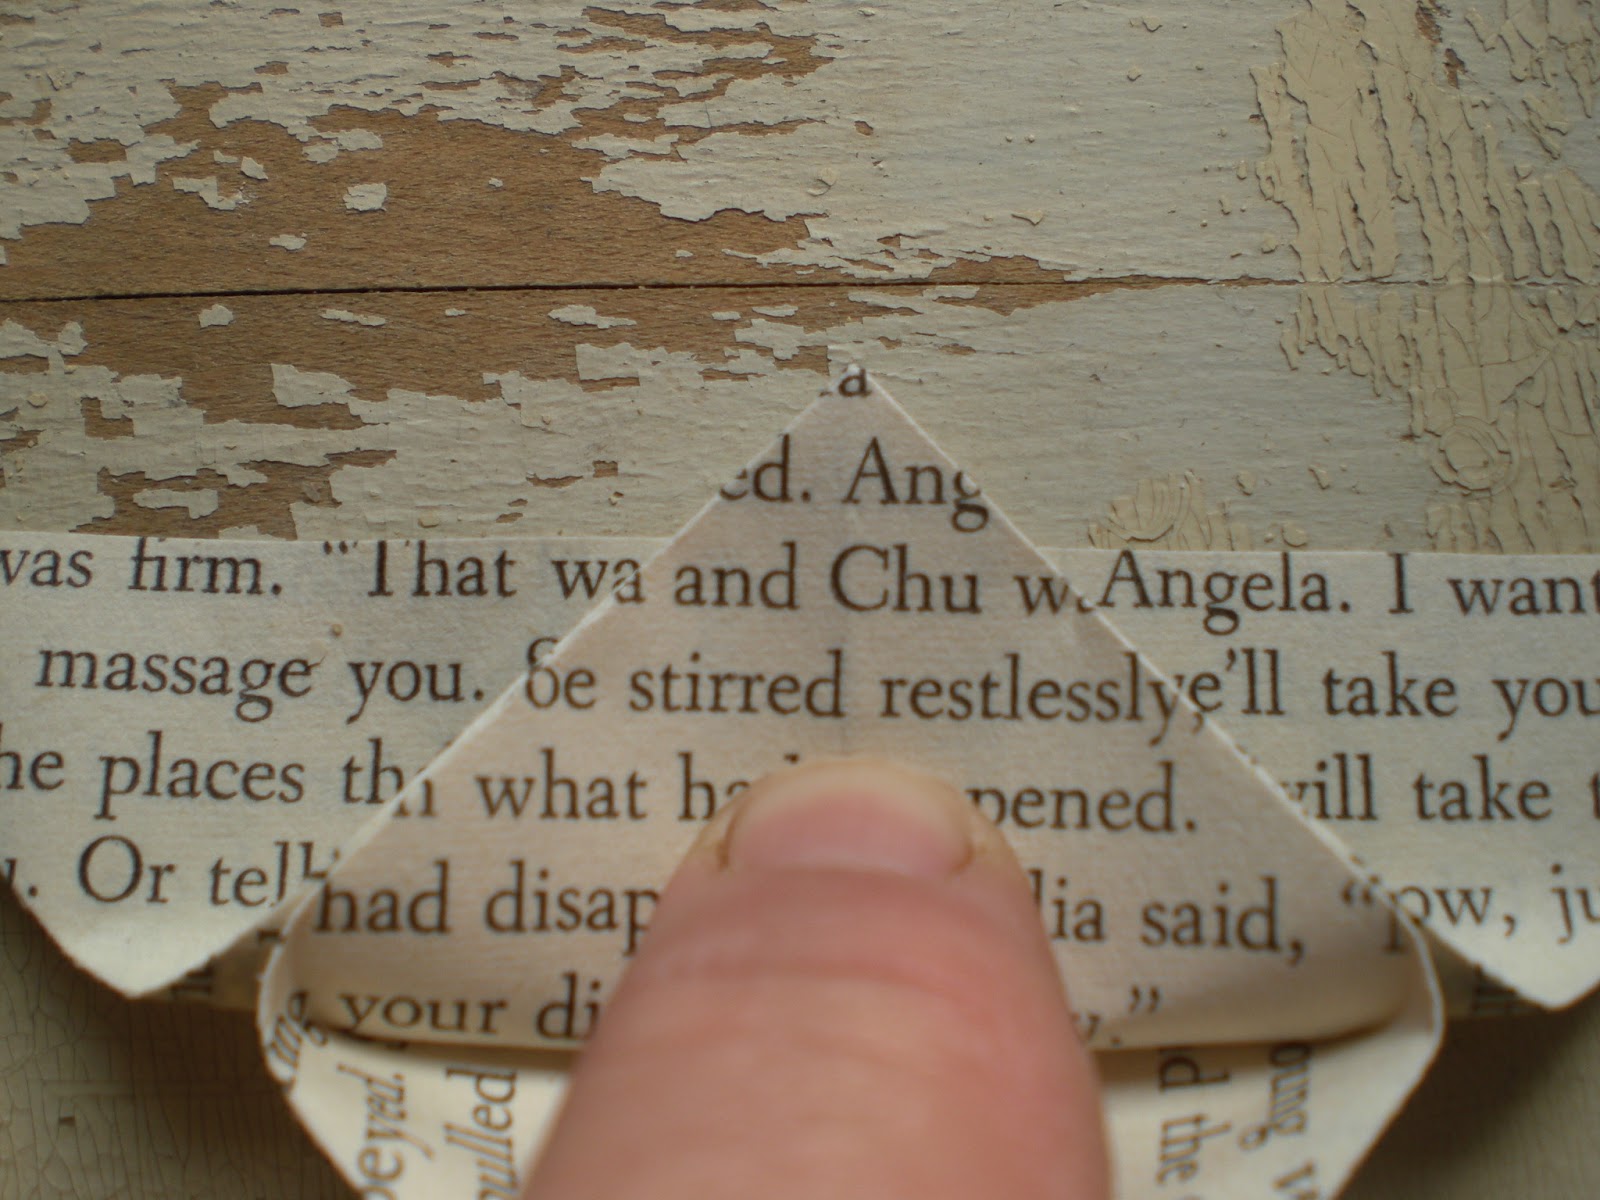
Next fold the top layer upwards towards the top.

This is what your paper should look like at this stage.
Next turn your paper over.

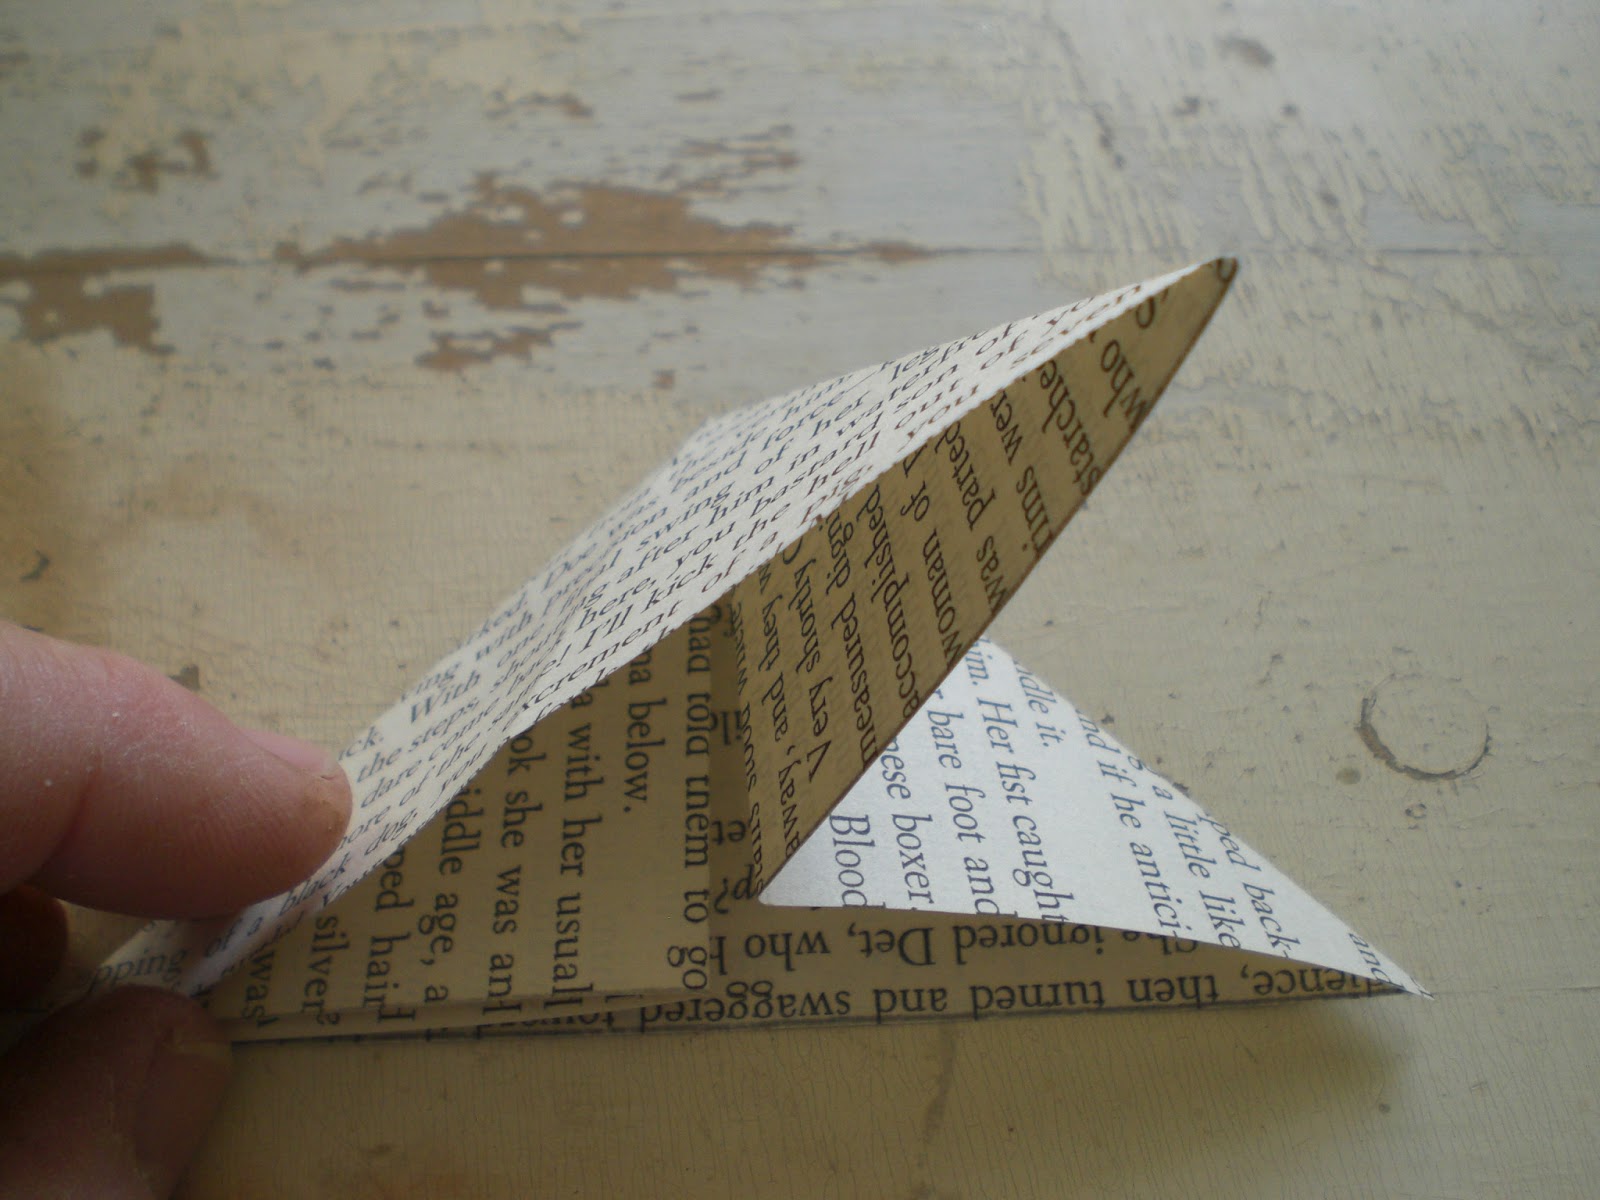
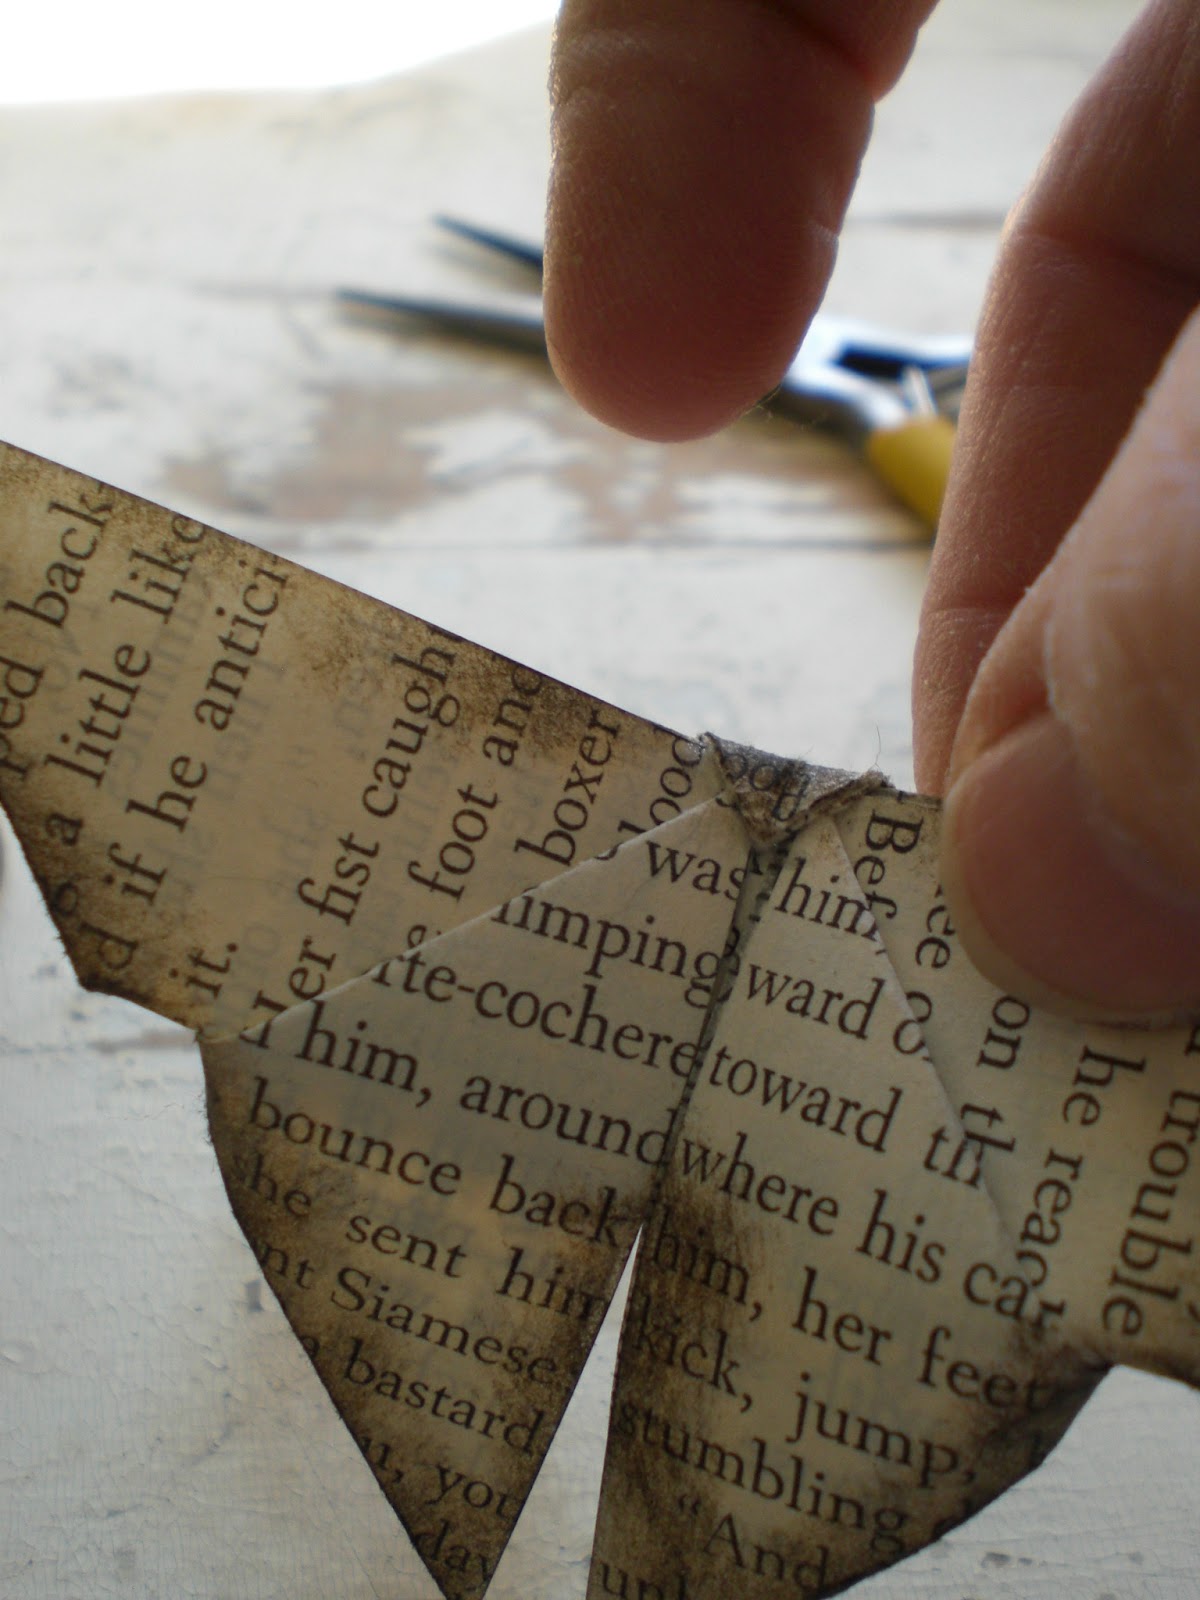
Now fold the corner of the solid piece upwards over the edge ...
... like this.
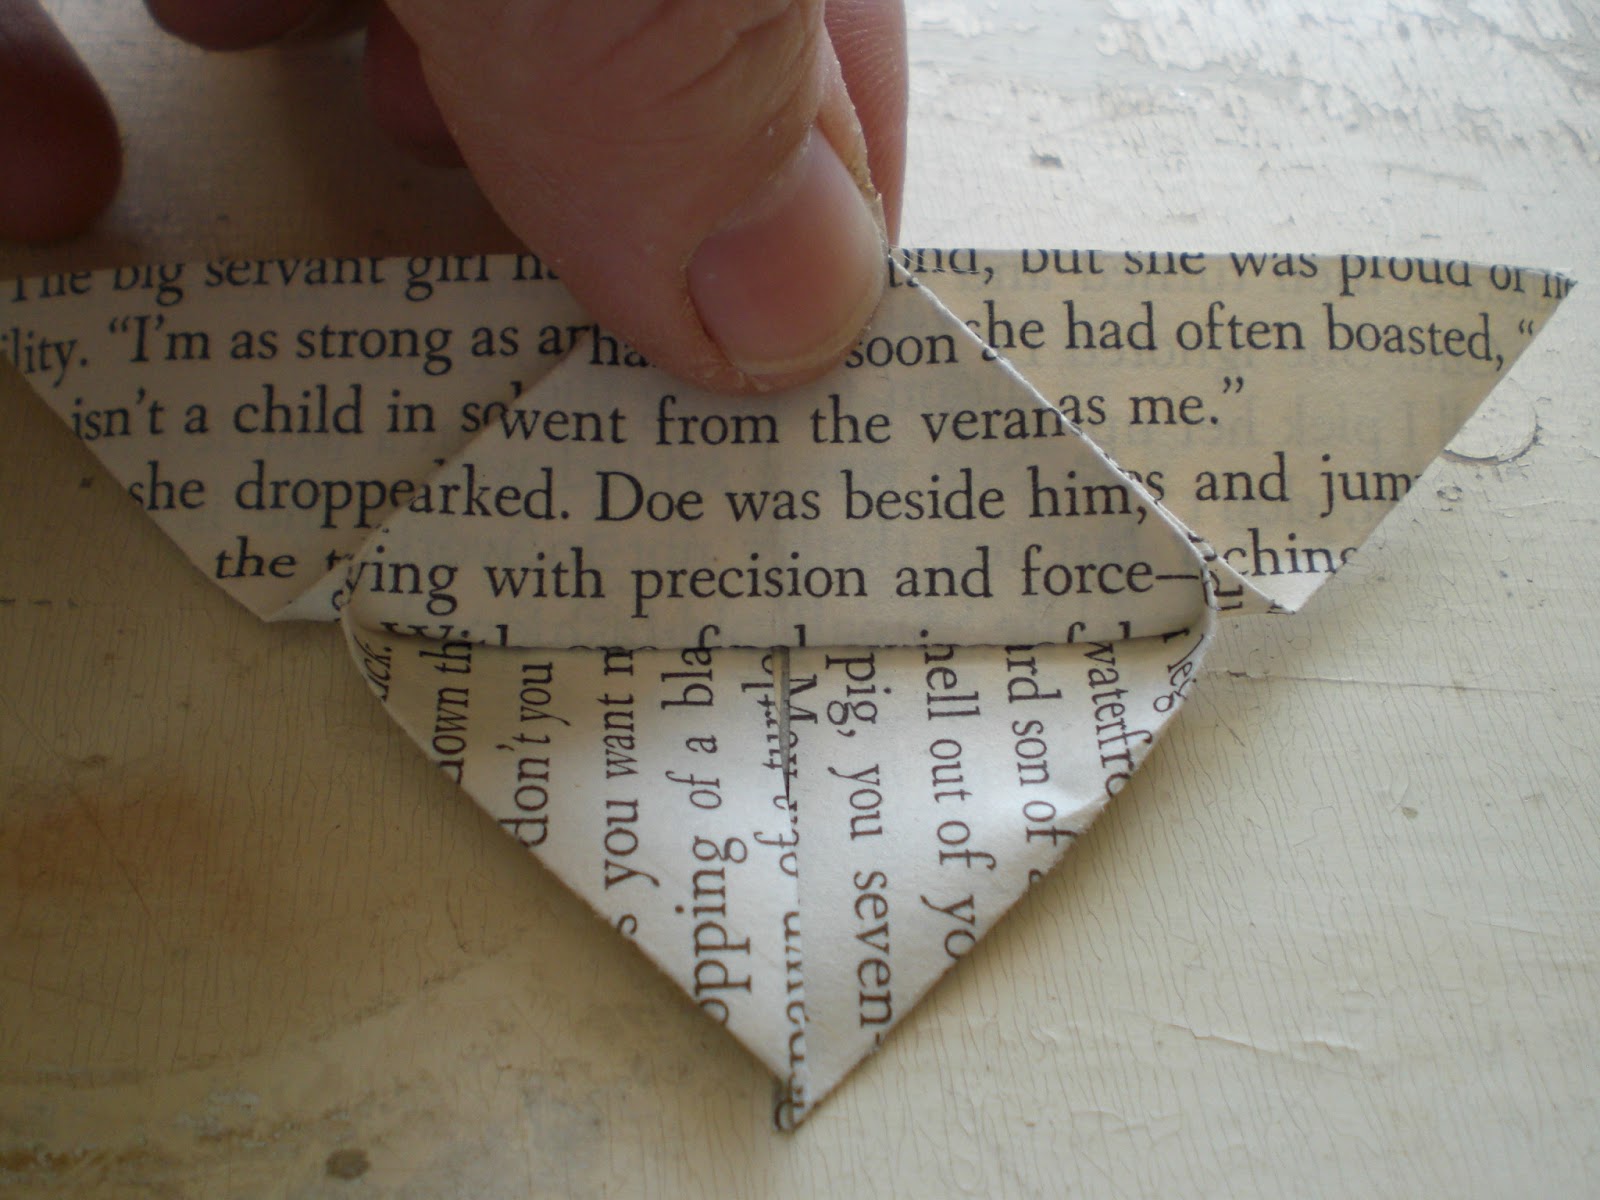
Flatten the center only ~ not the edges!
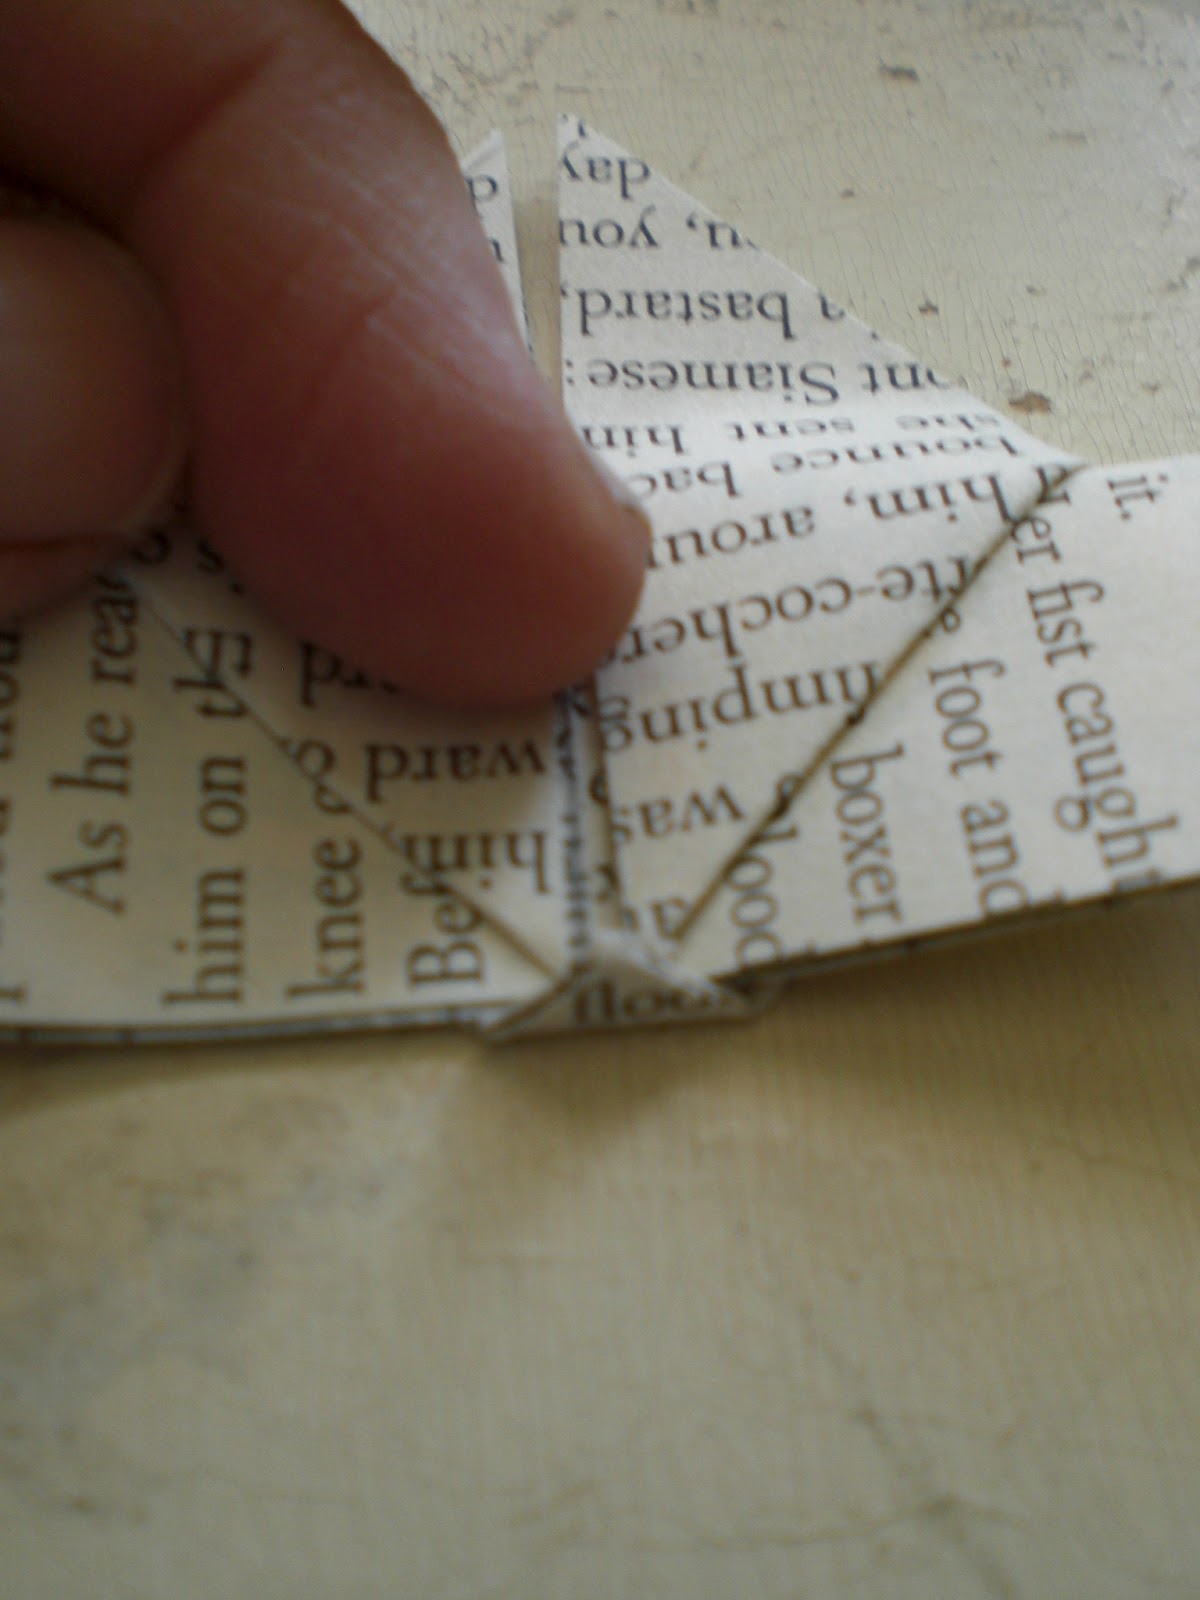
Fold the little triangle forward and over ...
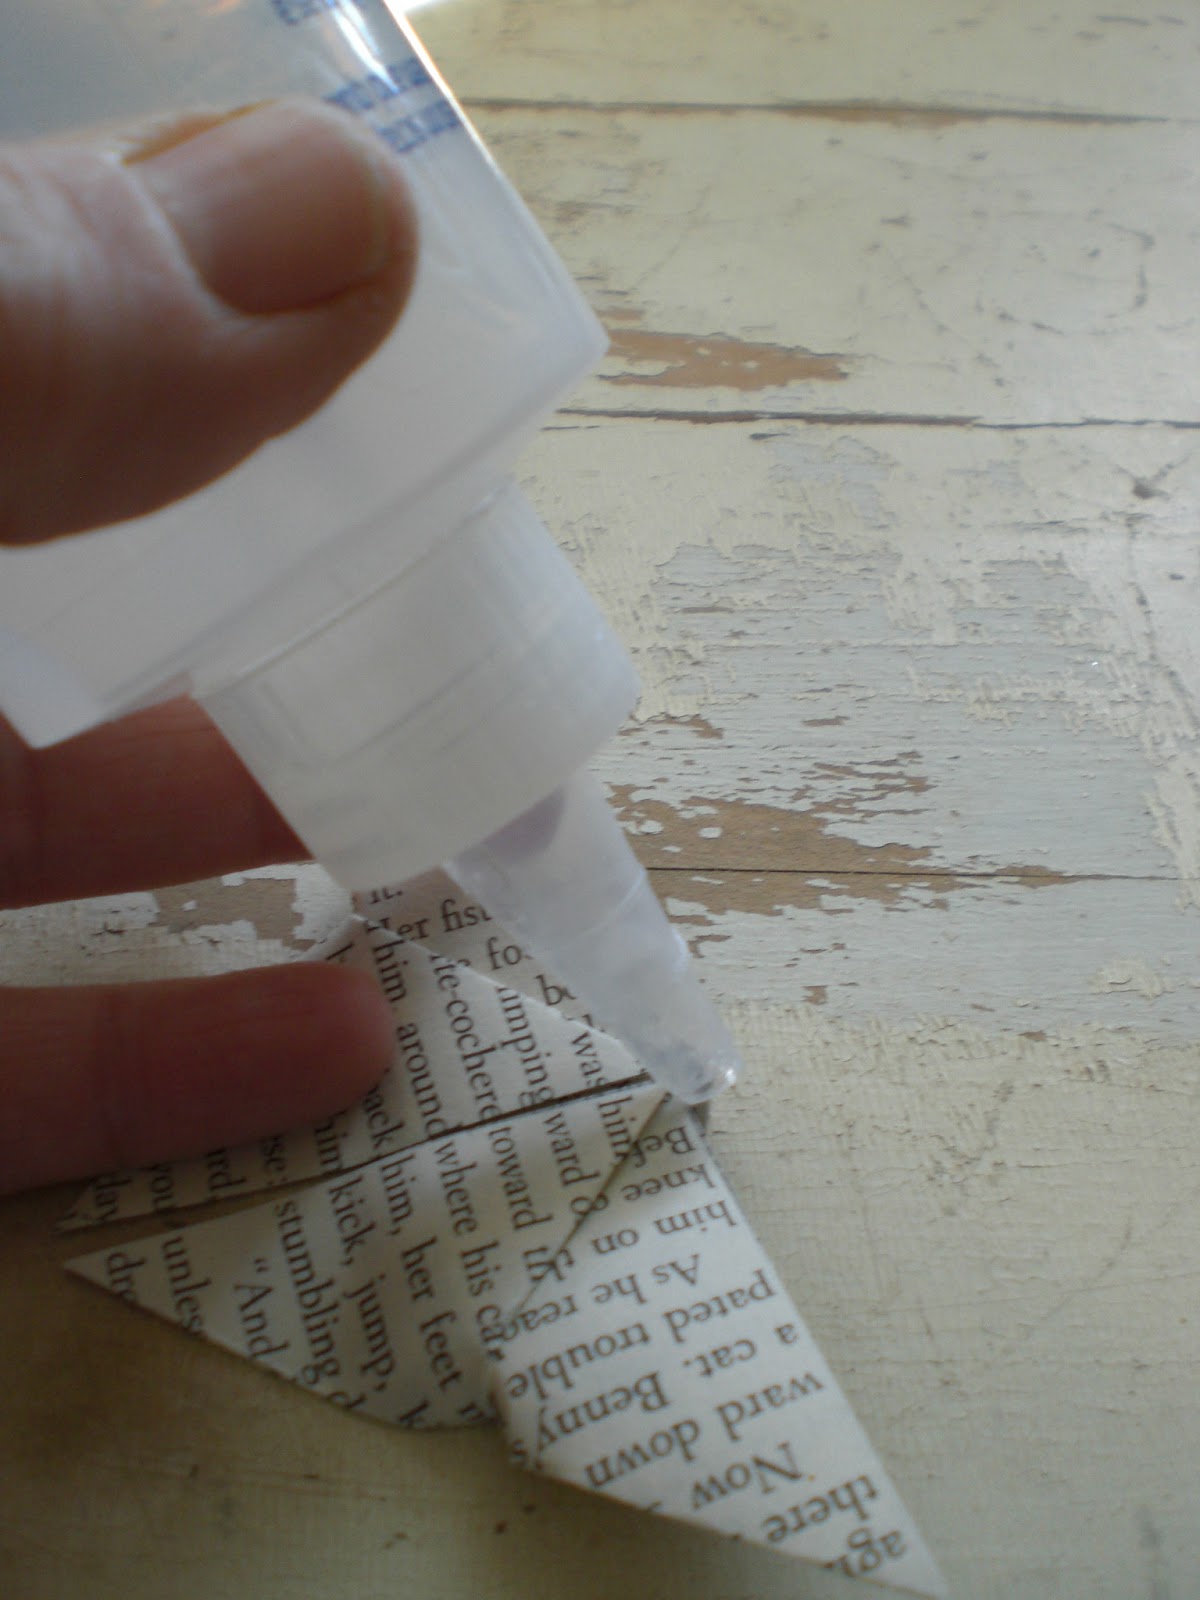
... glue it down with a dab of glue. Normally you wouldn't use glue in origami but I think it is needed because of the wire you will place there for the feelers.
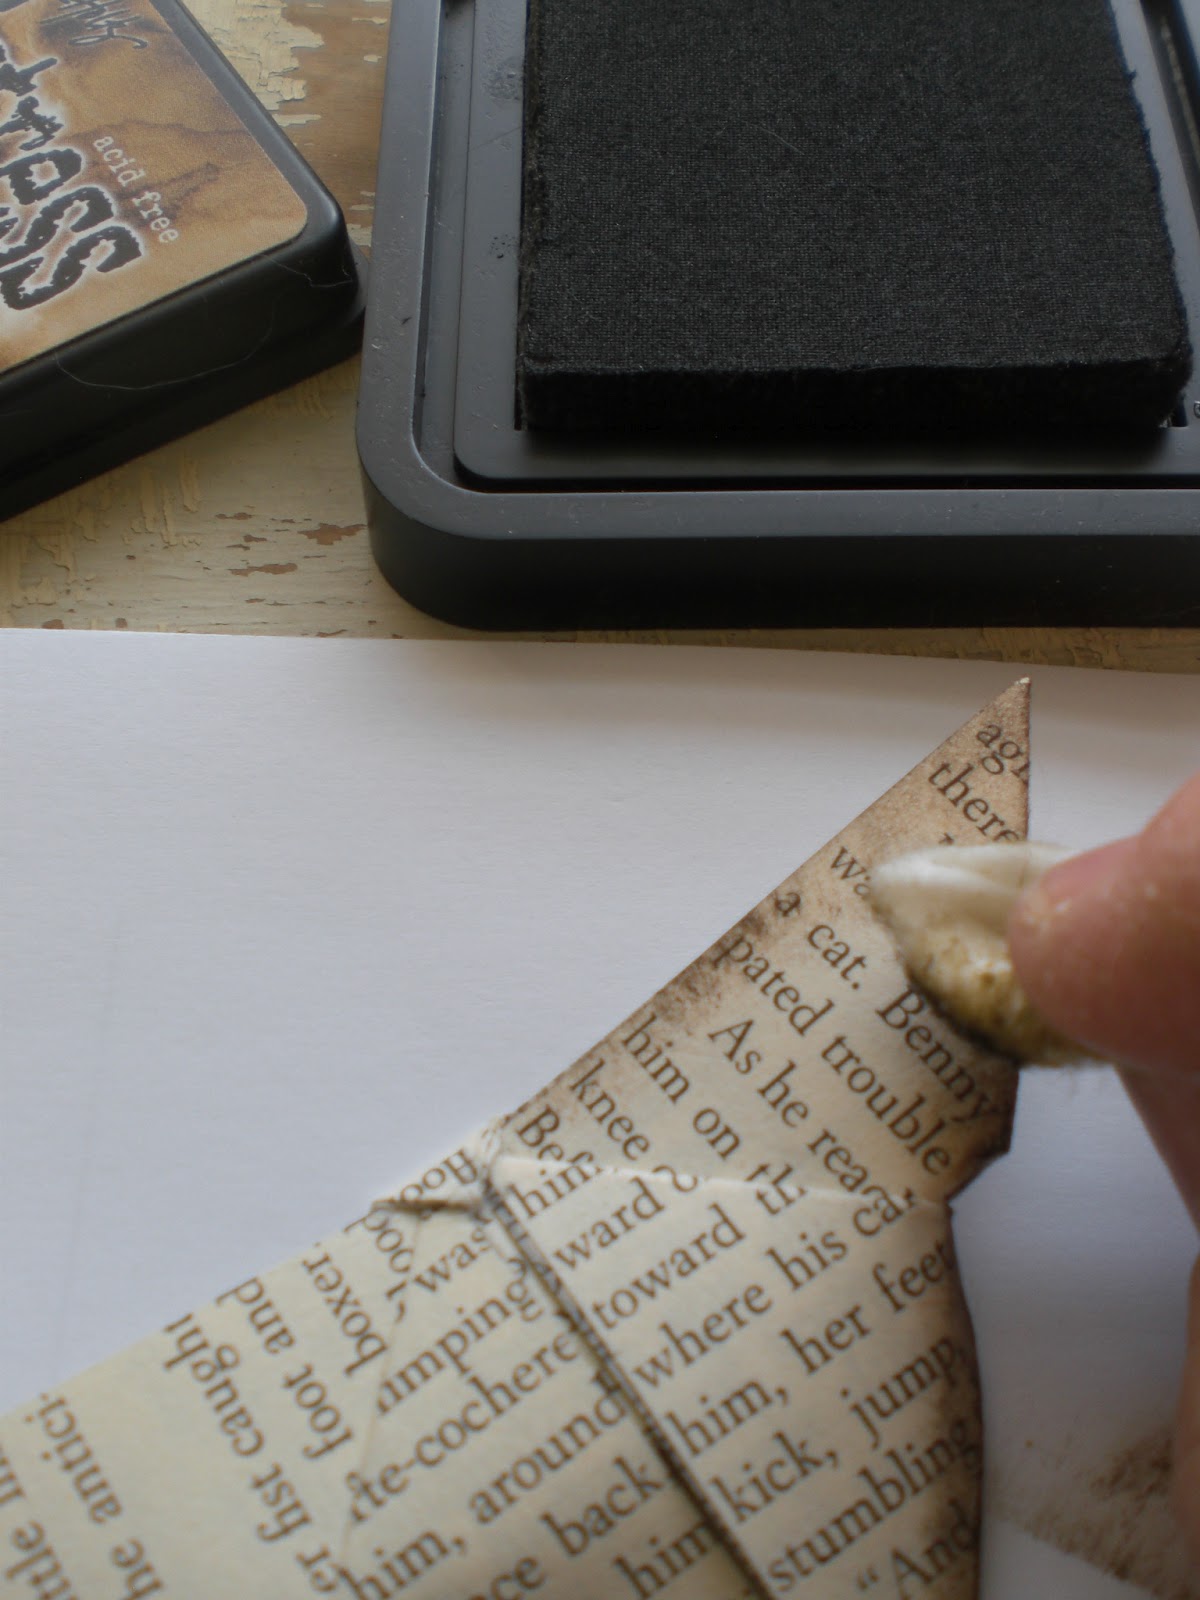
Since you are done with folding your butterfly you can now ink the edges if you wish to do so.
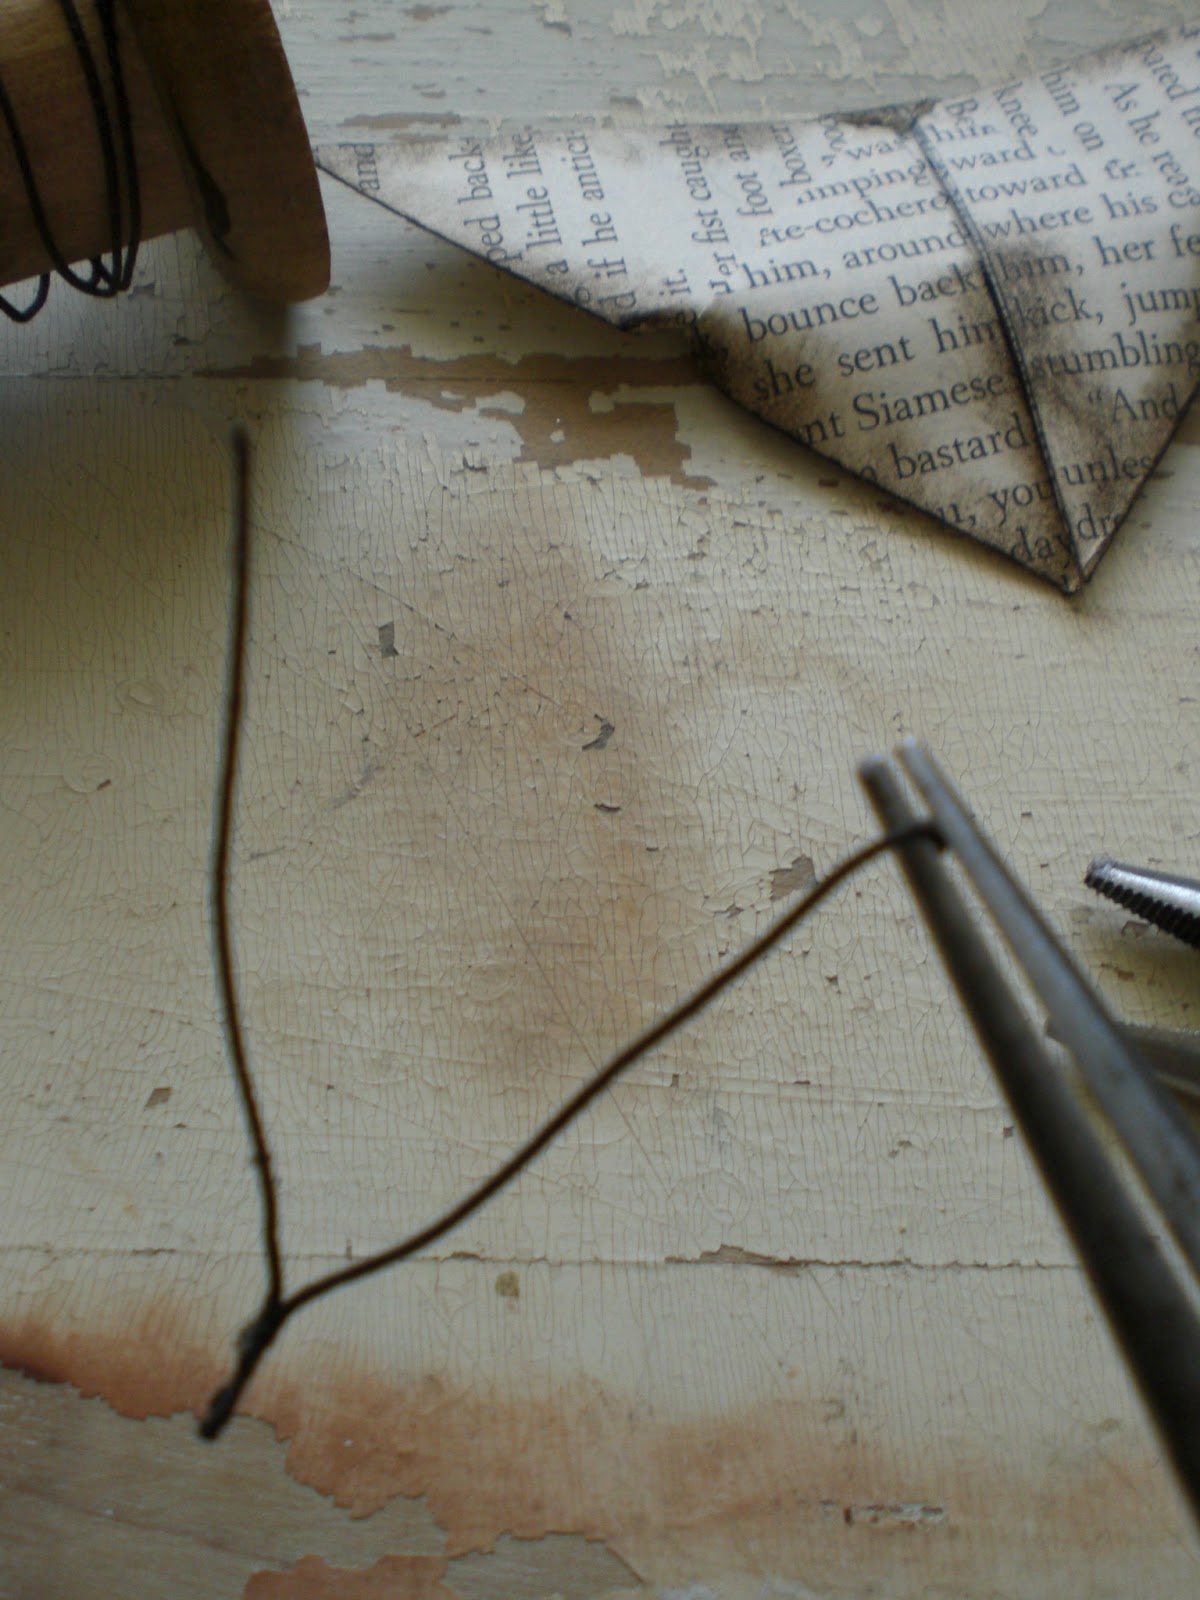
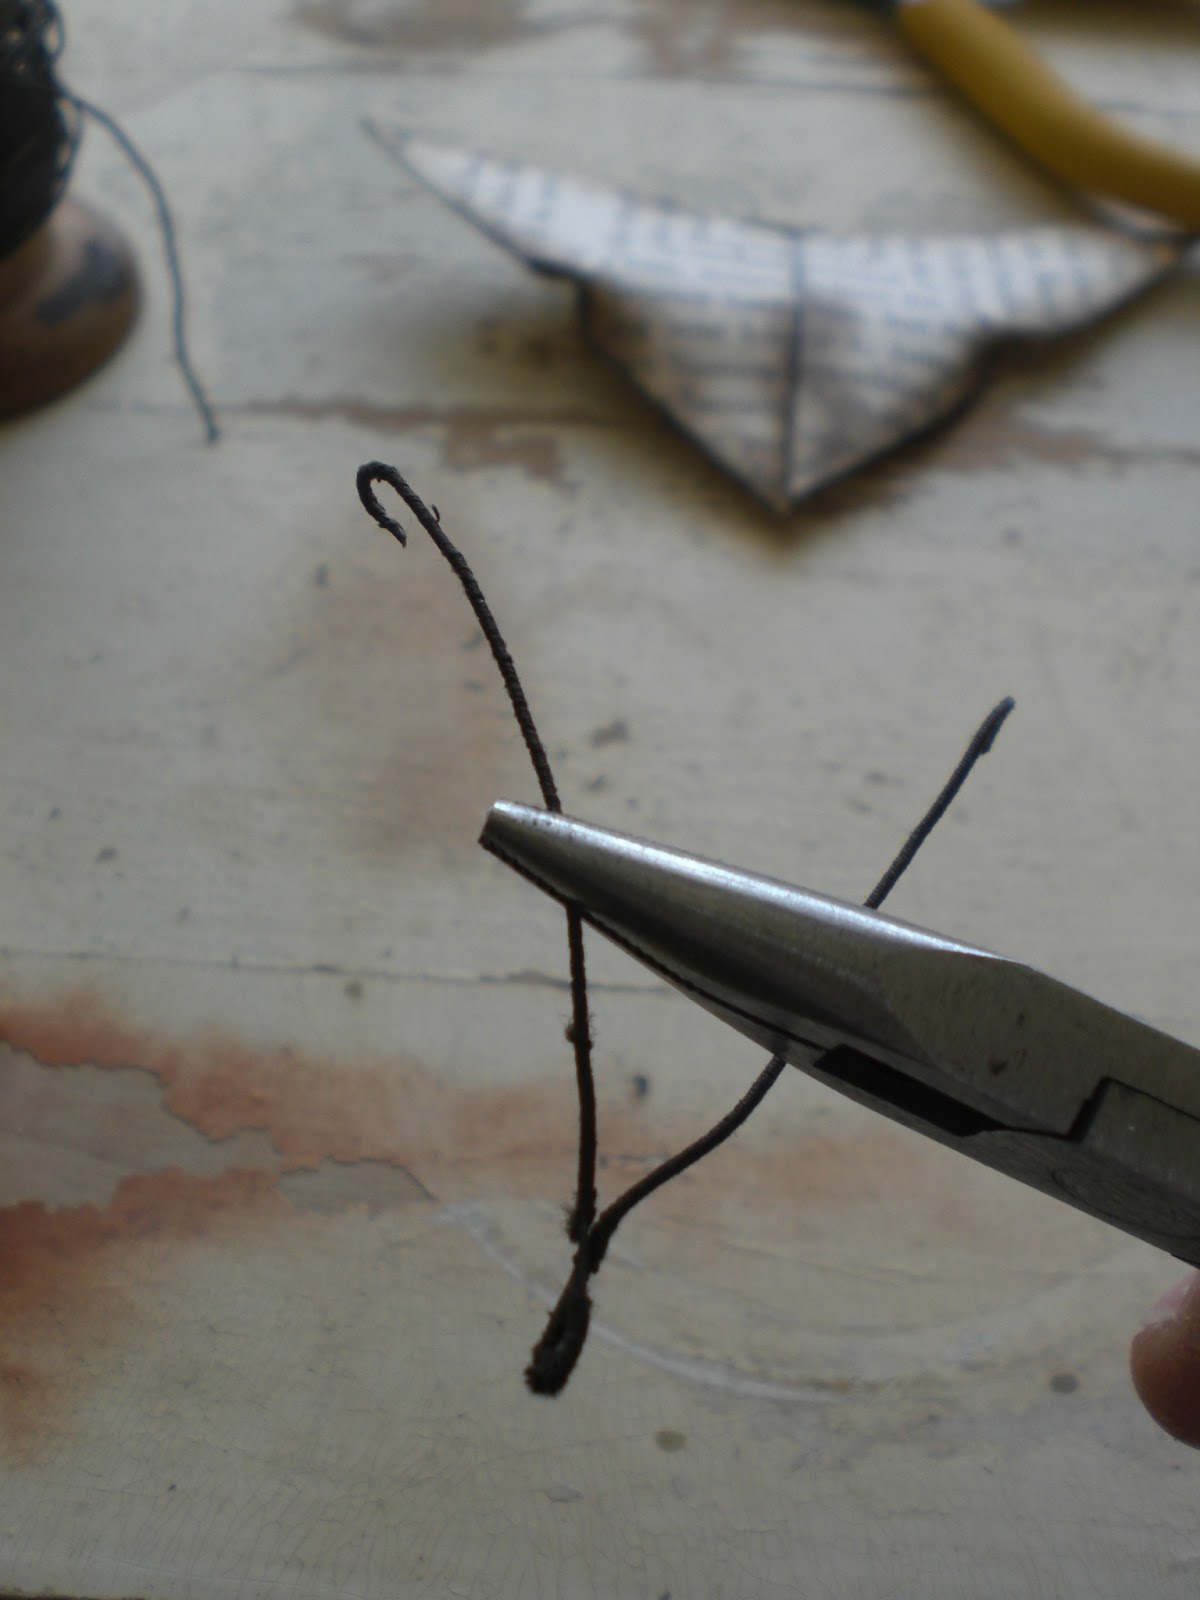
Cut a piece of wire for the feelers. The length depends on the size of butterfly that you have made and on what you like. I use a 4 inch piece of wire for a 4 inch square of paper. Bend the wire in half and with a pair of nose tip pliers squeeze the bend tightly together and curl the tips.
Next step is with the little triangle facing inwards ...
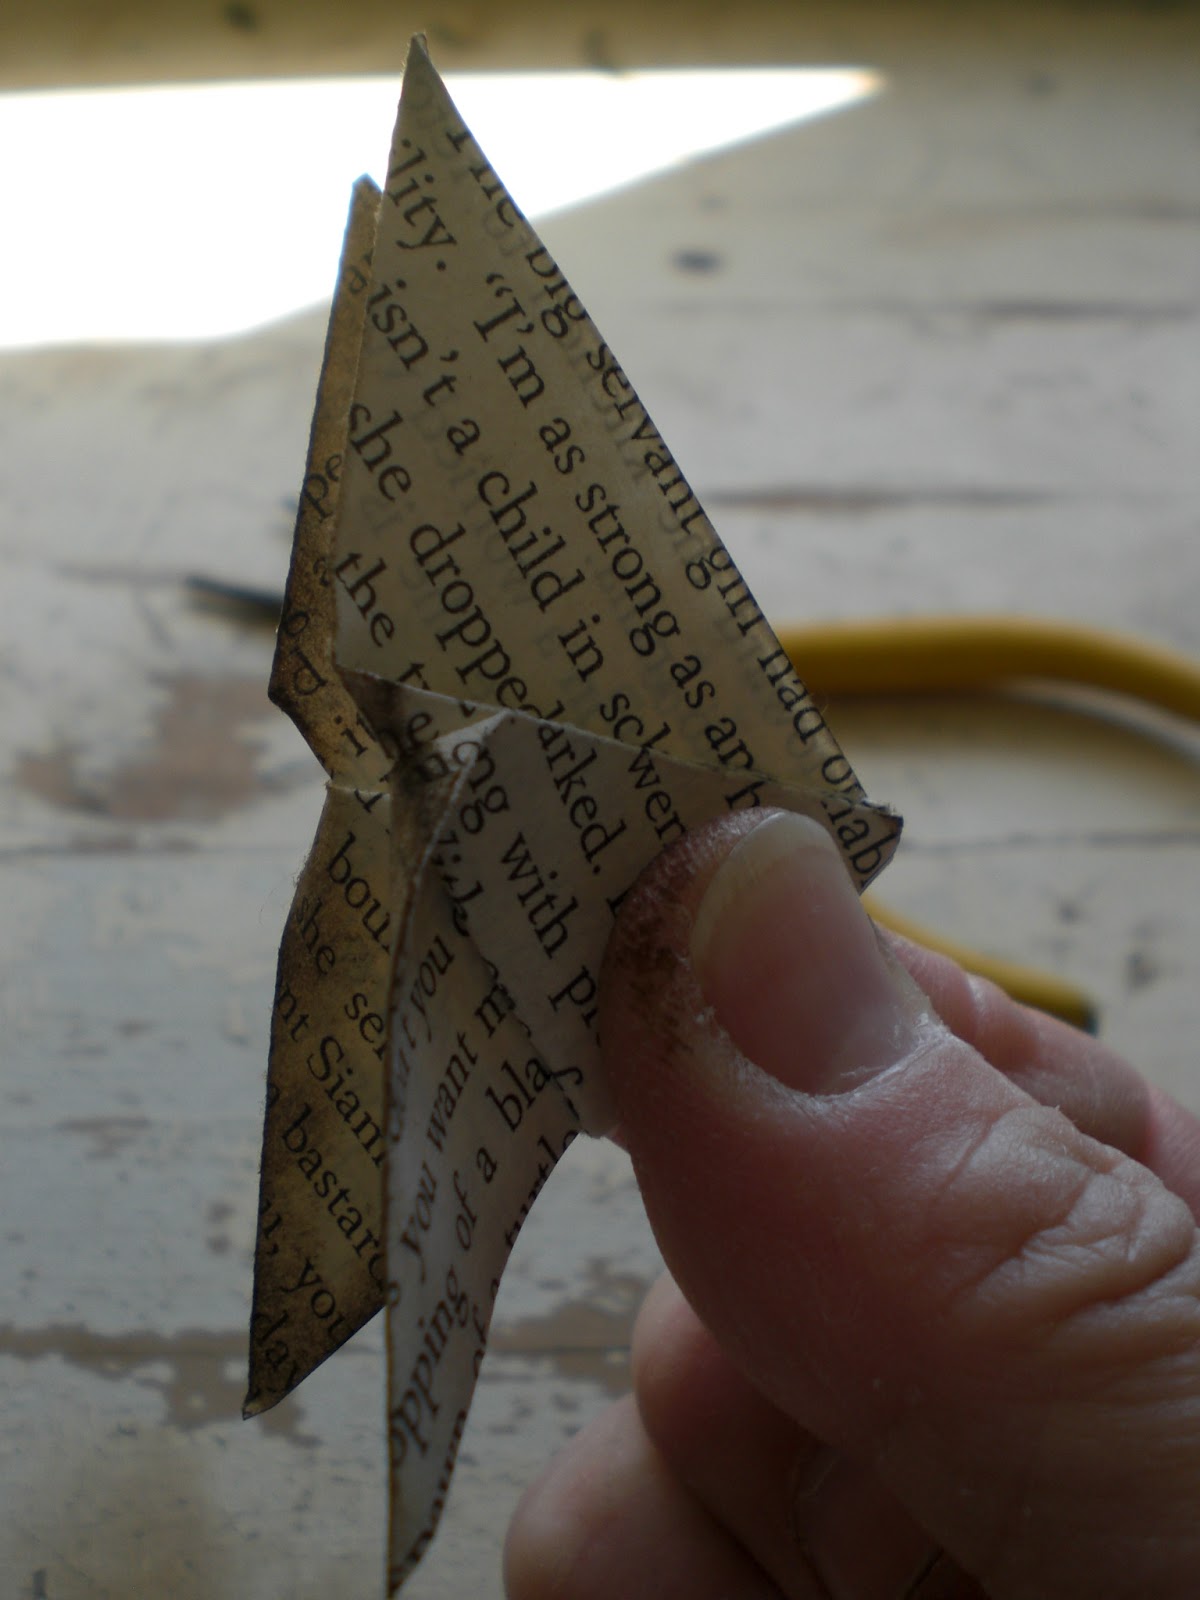
...pinch your butterfly together and flatten the crease.

Now your butterfly has it's shape.

Last but not least dip you feelers into glue and glue onto the tiny triangle.
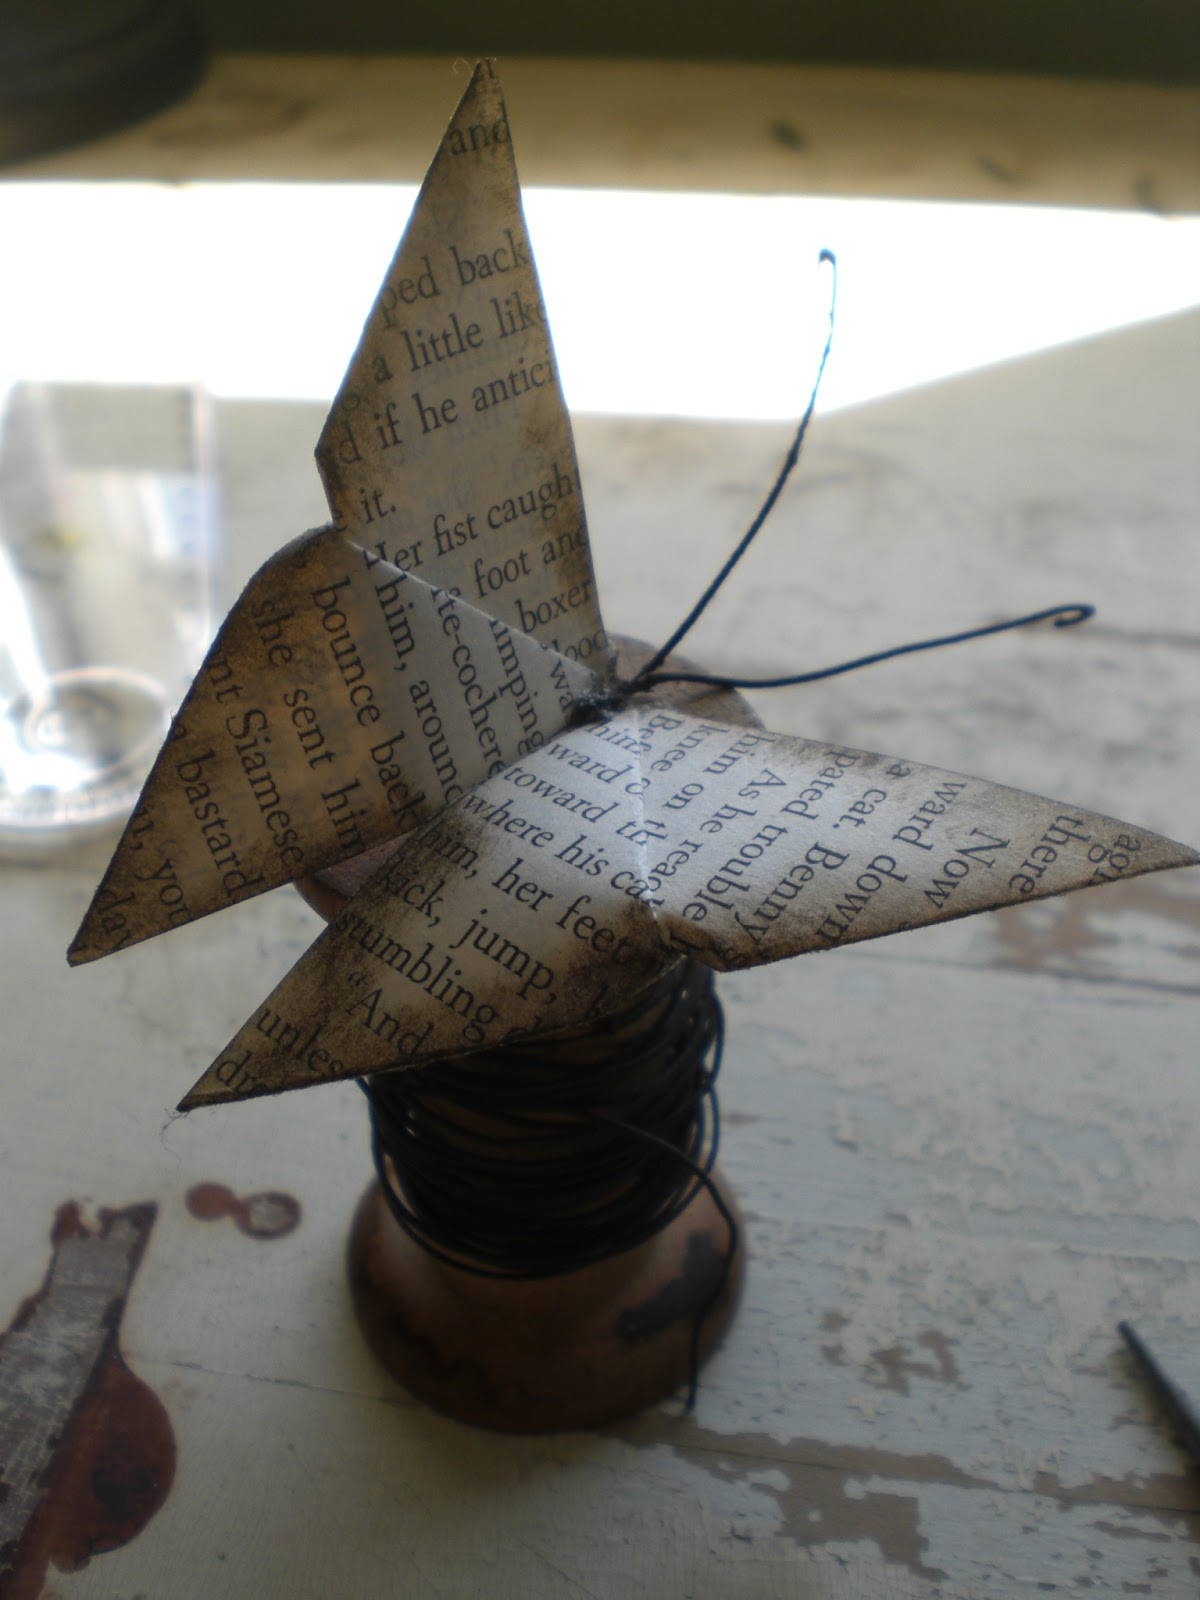
All that is leftover to do is to find a place for you fluttering creature and enjoy it!!


I hope the instructions to this tutorial are written well enough for you to use and understand. If you have any questions please feel free to e-mail me and ask. I work very hard and try to take many photos and write my tutorials as good as I can for you even when I have two very lovable and nosey cats in between glue, scissors and other creating bits and pieces.
I hope you are well and life is treating you kind.
Have a peaceful and creative day.
Karen B.
Outstanding, Karen, thank you so much for this fabulous tutorial. As soon as I have a few spare minutes, I am so going to try this.
ReplyDeleteI can imagine how long it takes to make such a very detailed tutorial. It is very much appreciated, I can assure you. Big thank you hug.
I love paper butterflies; they have become a new obsession. These are so darling. Thank you for taking the time to share your talents. I'm sure that this takes a lot of work.
ReplyDeleteBy the way, I found your blog through pinterest and started following it. I hope you don't mind if I post a picture of your butterfly there so more people can find your wonderful blog.
Thank you for your tutorial. I love the butterflyes. Gonna put them in my easter....... (påskris in swedish). I have done many origami but never saw this butterfly.
ReplyDeleteMarianne
Thank you so much for taking the time to do this! These are just what my mantle needed. I've made five of them and will be posting about them and linking to your tutorial soon! Just wonderful!! Thanks again. :)
ReplyDeletewonderful! thank you for taking the time to make this. i'm pinning it on pinterest.
ReplyDeleteHi Karen,
ReplyDeleteThis is just awesome! You do the best tutorials girl, & your so generous with them.
Lisa
Your origami butterflies are wonderful! Thanks for sharing your tutorial x
ReplyDeleteThank you for the great tutorial! It was so well done, even I can make them :) My first attempt was a little crooked but now they are flying all over my living room. Thanks again!!!
ReplyDeleteDear Karen,
ReplyDeleteyour butterfly is wonderful! Thanks for the tutorial
Eszter
Love your book page butterflies. going to give them a try for sure!!!!
ReplyDeleteThanks
hugs Lynn
I posted about your tutorial here:
ReplyDeletehttp://www.jillruth.com/2012/03/another-spring-mantle.html
Thanks again!
Hello Karen. I found your blog through my friend Tina and I am so pleased I did..thank you for this lovely butterfly tutorial..I LOVE IT. I can not wait to make one..or MANY :)
ReplyDeletewishing you a lovely day,
doreen
You did a great job on your tutorial. Found your page on pinterest and did one with office supplies (some days it's just necessary).
ReplyDeleteLove the butterfly. I am going to make one and attach it to a old rusted bed spring. When I post it I'll let you know and put a link to your blog. Found your craft on Pinterest.
ReplyDeleteThis is so beautiful! Thank you for sharing and your cats are adorable.
ReplyDeleteEnim Sou
Great tutorial - I have just made one and now that it is school holidays in New Zealand - I am going to get my daughter to make some for her room. Love all the things you make - sou are so creative.
ReplyDeleteI love your butterfly and used your directions to make one that I attached to a clothespin to make a recipe card holder for Mother's day. You can see it here: http://www.daniellesplace.com/html/mothersday.html#cancard Thanks for sharing.
ReplyDeleteYou make such lovely things. I followed the instructions step by step with total success! Thank you so much!
ReplyDeleteI made these yesterday. So fun and easy! I am sending a set to my daughter who is away from home for awhile so she is missing spring at home. Thanks for the tutorial.
ReplyDeleteLOOOOVVVVEEEE ITTTT!
ReplyDeleteJust made these! The kids loved them.
ReplyDeleteI was just trying to figure a way to honor my mom's and grandmother's original handwritten recipes (i scanned them to keep, but didn't want to throw originals away)...thank you. Also thought about using a music sheet from a song that was played at a friends funeral to send to their wife in sympathy card.
ReplyDeleteThis comment has been removed by the author.
ReplyDeleteThank you! this origami butterfly is very very nice!!!!
ReplyDeleteManu
Thank you so much I adore butterflies It is so generous of you to share this tutorial
ReplyDeletethey are beautiful
Thank you for wonderful tutorial. Is a lovely butterfly.
ReplyDeleteHi,
ReplyDeleteWill you please post a link to your Blog at The Origami Community? Our members will love it.
It's easy to do, just cut and paste the link and it automatically links back to your website. You can also add Photos, Videos and Classifieds if you like. It’s free and easy.
Email me if you need any help or would like me to do it for you.
Please feel free to share as often and as much as you like.
The Origami Community: http://www.vorts.com/origami/
I hope you consider sharing with us.
Thank you,
James Kaufman, Editor
Wow, those butterflies really look so amazing and alive! The procedure is also very simple. What is really nice about this origami butterfly is that old papers or recycled materials may be used; thus, reducing our waste materials aside from shredding Houston our paper documents that we no longer need. Thank you for sharing this tutorial. This is absolutely a must do.
ReplyDeletei love this butterfly i can't wait to try and make one.
ReplyDeleteMuchas gracias por compartir!
ReplyDeleteBe You tiful!!!!!
ReplyDeleteI just used this butterfly pattern for a group of children. They absolutely loved it! They made them on colorful paper and then colored them to decorate. The design is simple enough for the 3-6 graders to understand, yet intricate enough to look beautiful. Thanks for putting this up!
ReplyDeleteAh, this is just wonderful!
ReplyDeletewhat a great project! thanks!
ReplyDeletegreetings from germany, die hippe
Thanks for this well-explained tutorial !
ReplyDeleteAmazing! I used picture from my daughter 2y old. THX
ReplyDeleteI made your crochet butterflies some weeks ago, and now I will give this a try. Thank you for the great tutorial.
ReplyDeleteWow....!!!! This is awesome. I like it so much.
ReplyDeletemaidplan
C'est magnifique, mille mercis, many thanks http://amielie.over-blog.com/
ReplyDeleteJust what I needed for my project, thank you.
ReplyDeleteHi Karen!
ReplyDeleteThank you for sharing your creativity.
I get to be inspired with your work.
I hope i can make my own art too.
:)
What a wonderful gift your tutorial has been for me! Thank you!
ReplyDeleteLovely! Thank you, a great tutorial, beautifully illustrated (love the kitty) much appreciated.
ReplyDeleteI have some of my late mother's music and just used your tutorial to turn some into butterfly ornaments for the family for Christmas. Thank you!
ReplyDeleteI like your supervisor :)
ReplyDeleteMy cats supervise also, making sure all crafts are done correctly.
Lovely! Thank you, a great DIY tutorial, beautifully illustrated (love the kitty) much appreciated.
ReplyDeleteSo Beautiful. Love It
ReplyDelete